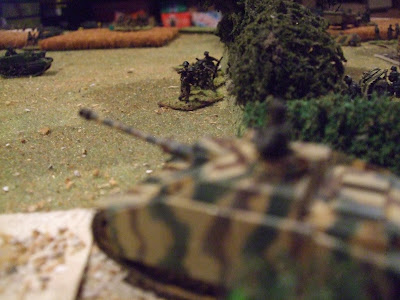
Sunday, 21 February 2021

Villiers-Le-Sec: 6 June 1944

 As warned my latest foray into the loft involved a Second World War game. Probably going to become more frequent as I put the finishing touches to those armies I started way back in 1979! The scale was 1/72 (20mm) and the scenario was taken from 'Rapid Fire! Normandy Battlegames' by Richard Marsh and Colin Rumford. I have been using their rules for some years though they rarely get an outing:


The empty battlefield from the south (German) end. It was rather an improvised affair with buildings last seen at Ligny and roads made from textured wallpaper but it was OK.


Turn 1: The 6th Durham Light Infantry deploy in Crepon (yes that IS an Airfix Waterloo farmhouse).


Jerry is waiting and has two of these nasty surprises deployed! (Nicked from my Afrika Korps and given a new crew converted from whatever I could find).
Turn 2:


The DLI edge forwards.


Support weapons are deployed at the edge of a copse - the advance is on a wide front - possibly a tactical error but as yet there is no sign of the enemy. (Vickers MMG - Esci, Carrier - Airfix).


Speak of the devil - reinforcements rush into Villiers-le- Sec - elements of the 1/352nd - these are a bit of a mix - PSC, Caesar, AB...


The Pioneer Battalion - Airfix and Esci - the legacy of a long gaming career - the Steyr is PSC.

Turn 3:
 
The Durhams continue to edge forwards ('tactically' as we used to say in the cadets) - there has as yet not been a shot fired - the British probe the position whilst the Germans hastily reinforce it.

 
More surreptitious deployment of support weapons...


 Will the Huns pass their observation roll? He looks like he's spotted something! (AB & Zvezda figures).

Turn 4:
Both sides have been continually reinforced and move towards each other but no-one has been spotted yet and there has been no shooting!


The British deploy a mortar - must have spotted something!


The Germans however get there first!


The action hots up as an 88mm takes out a Lloyd carrier.


The DLI press on regardless.


Just as well for this game has turned into a race for the best defensive positions! Shouldn't there be some tanks?

Turn 5:


At last - British armour arrives!


An advance party of the Durhams reaches a field boundary which I treated as hard cover throughout the game but wasn't supposed to be!


Whilst on the other side, an infantry company and support takes up position amongst the bocage for which Normandy is so famous.

Turn 6:

British armour moves up to the cross roads but Fritz spots the movement - Feur !
 

It's sixes all round - direct hit! The 88 can see the smoke from their position.

Oof! Unhealthy crossroads! (downside of using wallpaper for your roads - maybe should have glued to something?)


The rest of the unit beats a hasty retreat to Crepon - they don't even know there are two 88s!


The Germans move up more troops to hold the British advance.


The pioneers dig in to support that 88 battery - oh and they have a mortar - poor Durhams advancing across the open fields!

Turn 7:
I must confess at this point that I didn't take any notes while I was playing this game so I am not actually sure what turn we are in anymore!


Word from HQ - Advance must continue!


Unsupported the DLI edge towards the Hun - (figures a mix - PSC, Caesar & AB)


Predictably they are fired on from all directions.


The Germans are well equipped (mortar AB - Panzer Grenadier - Atlantic! 105mm is Hinchcliffe I think)


Casualties mount.

Turn 8:


The British call in the big guns - OP Carrier converted from PSC Universal carrier with bits of plastic card and a few spare parts.

The Durhams move into the cornfield on the British right.


The Germans are emplaced on the other side of the field and a furious firefight ensues.


The Germans bring up support (although I was unaware that they had an HE capability so they weren't that much help!)

Turn 9:
 
The Durhams have by now run the gauntlet of the fields between Crepon and Villiers-le-Sec and are now engaged in close quarters fighting along the whole front.


The dastardly Huns outflank our boys in cornfield.


They are driven back with heavy losses.


German Stug III engages DLI attacking the bocage.


An M10 at the edge of the woods engages the Stug and it is driven off...


Fierce fighting continues in the hedgerows.
Turn 10:

The artillery fire slackened off as both sides are now closely engaged and open targets are few. It is down to grenades, rifles and machine guns and ultimately the bayonet.


The Durhams breakthrough the hedgerow in the German centre. 


On the German right the pioneers try to outflank the DLI.


But British reinforcements check their move.


The Stugs come out again to support the German retreat on their left.
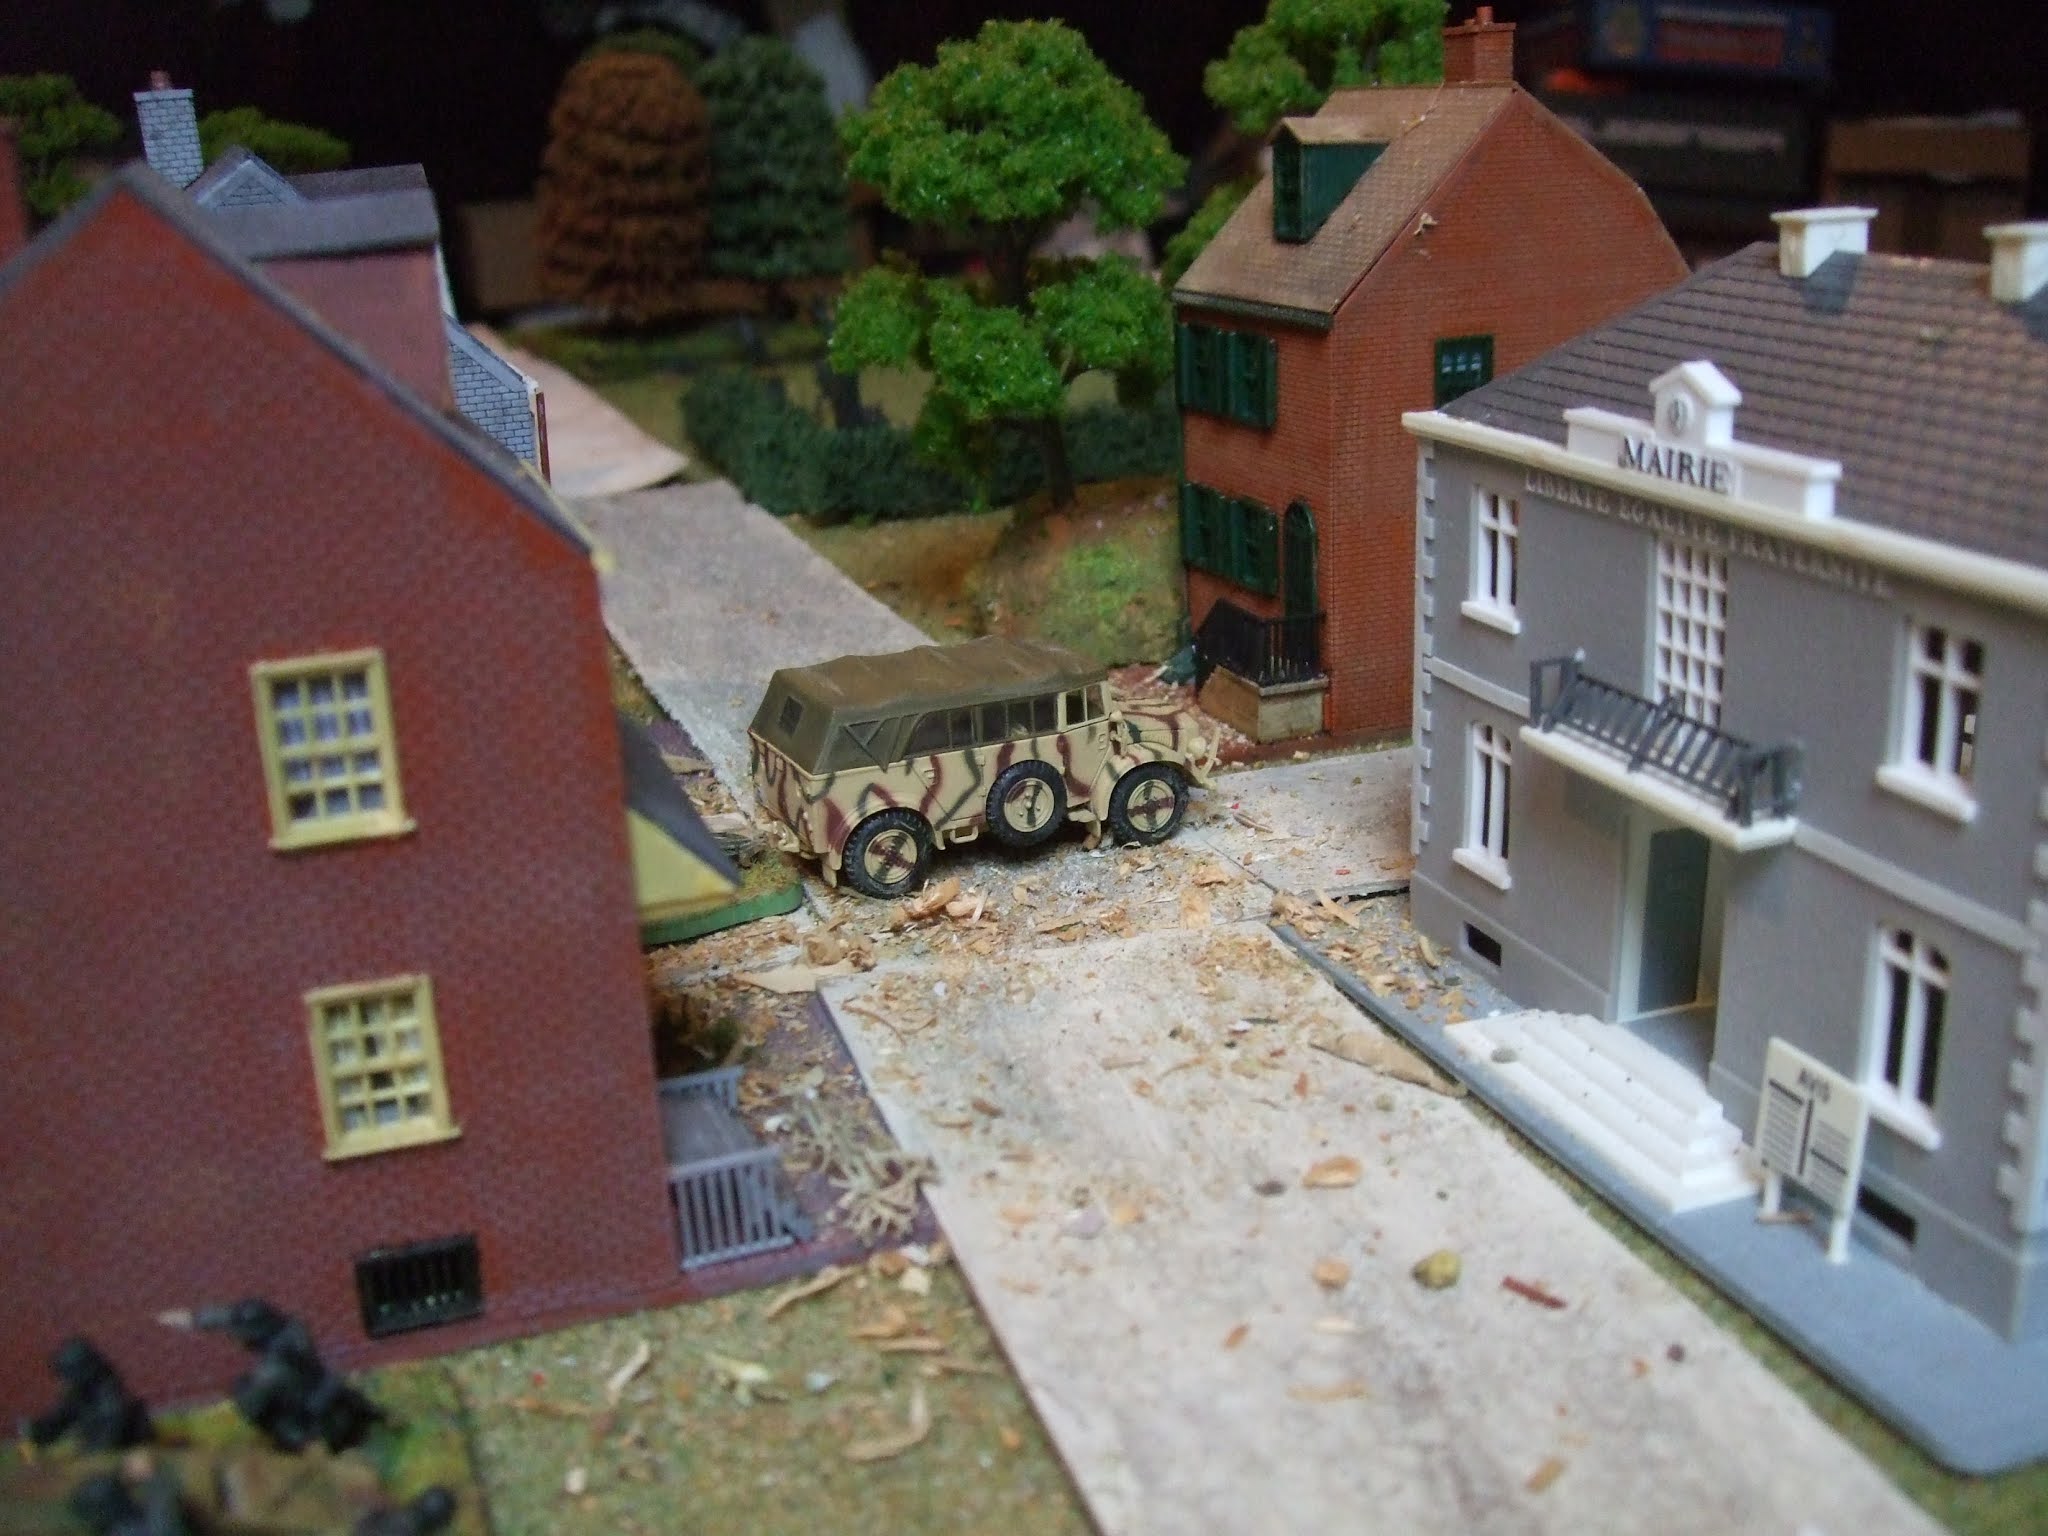
 
German support elements head out of town...

Turn 11:
The British are at last making headway across the front. They have taken heavy casualties and their armour after its initial fright had done nothing but is starting to edge down the British right flank.

The Durhams break into the farm in the centre of Villiers-le-Sec


And on their right they move against the pioneers.


Who make a fighting retreat.


Free from the threat of the dreaded 88s the British armour finally emerges and the Durhams consolidate their various positions.
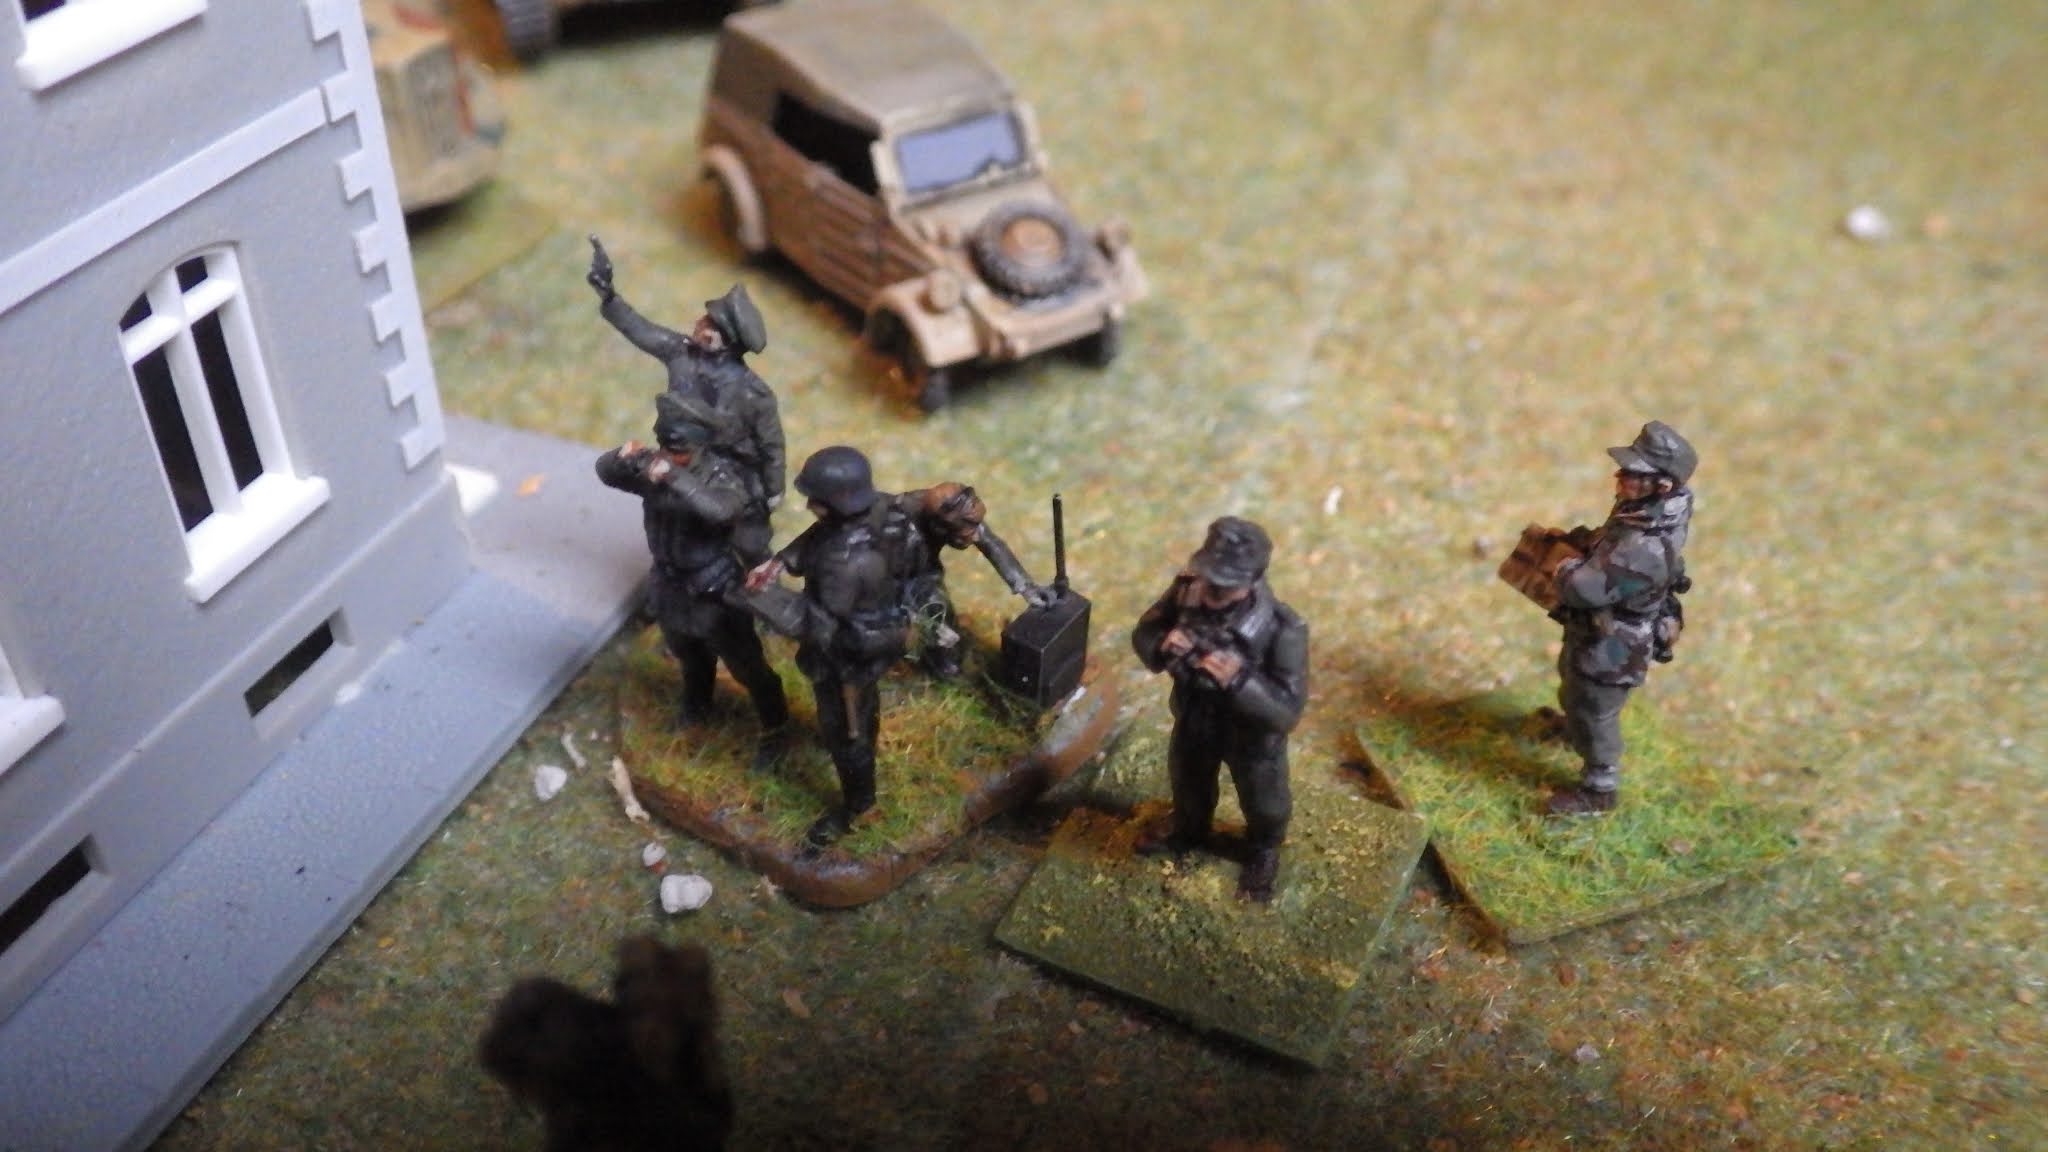


The Uber Huns decide they don't have the strength left to hold their position and call for a retreat...
The game is over!


Saturday, 20 February 2021

Napoleonic Quarterly

 It just struck me that I should be promoting this podcast on here! This mammoth project was begun by Alex Stephenson three years ago and I have been involved for a few months now as a sort of rent-a-quote! The podcast will eventually cover the entire French Revolutionary & Napoleonic Wars in three monthly chunks in a series of interviews with subject experts (... and me!). There are currently 5 episodes plus a couple of extras - I appear on episodes 4&5 - Give it a listen!

https://anchor.fm/alexander-stevenson


Friday, 29 January 2021

Pirates

 Ah Jim Lad!! - No not those kind of pirates! Plastic figures have been copied by unscrupulous manufacturers for as long as there have been plastic figures. Not sure what damage this does to profits or brand reputations but it can provide cheap figures and sometimes unusual options for the gamer.


I bought these from my local Post Office in about 1982 - there were lots of them - they were 20p! Obviously copies of the Airfix 8th Army set - I think Airfix had gone bust (2nd time?) at this date so I had never seen the originals at that point but I think they are actually based on the 1/32nd set.


From the same source - Afrika Korps - these saw a lot of service on my bedroom floor! The officer was painted as a naval captain for some reason.


And - some US Army - pretty crude and badly cast but for many years my only Americans. No idea where the guy on the end came from - there was also a figure with a walkie talkie and one with what may have been a flamethrower - hard to tell. One advantage of these figures (apart from the price) was they were a little bigger than the OO/HO Airfix figures so fitted in better with my Esci figures.
 
 
Where I got these I don't recall - possibly a Xmas cracker - they are better quality than the first lot (despite the blobs on their helmets) in a slightly harder plastic which shows the detail more and they are slightly bigger.

Recently purchased via ebay from France; more 8th Army copies - better quality than my first set despite pronounced mould lines they have much sharper details.


Now! What have we here? These are 1/72 copies of the Airfix 1/32 Soviet infantry. Once again this provides a hint that pirates use sophisticated pantagraph technology to resize masters when they copy them - I have seen this done in either direction - I used to have a set of 1/35 French made from the OO/HO Airfix set but they were horrible and I got rid of them. A company called supreme also made copies of Italeri Napoleonic figures in 1/32 which were never released in that scale and those cheap 'knights' you can by in toyshops and supermarkets are pirated from Italeri's Crusaders (also probably the1/72 set). I am personally quite pleased with these as I always considered the Airfix 1/72 Russians to be a poor set and wished they had done this to them!


Finally - from Russia - these are white metal copies of Esci US Paratroopers - very nice as it happens - I got hold of a load of these without realising what they were till I saw them, 


They did a whole selection - mostly Esci - which I have integrated into existing units made of their plastic brethren but as you can see from this dispatch rider Airfix got in there too! These were all WW2 and modern figures but I did once see (in the old military museum in Prague's Schwarzenberg Palace) white metal Esci Napoleonics so there maybe more out there! 


Friday, 13 November 2020

Dünzling - 1809

 So - I decided not to refight Teugn Hausen again but instead to expand the area covered and take in Dünzling which is to the north of the previous action and was the target of a half hearted offensive by the Austrian IV Korps on the same day. I left III Korps in play as there was further fighting around Hausen in the afternoon of 19 April 1809. The original idea of fighting this using the Horse Foot & Guns rules did not last beyond the opening turn as I just couldn't get to grips with them so it was back to the usual. The game was fun but the result was marred by a misremembering of the rules which was perhaps caused by messing about with lots of versions...

Turn 1:


Having forced the Austrians to retreat in the previous game Lorencez's Brigade advances over the Hausnerberg in pursuit.


At Saladorf the Austrians turn at bay to meet them. With a number of heavy batteries emplaced on a hill next to Hausen and with reserves to call upon, the Austrians are now in a strong position to fight back - in fact once the reserves come up they will out number their pursuers significantly especially as the rest of Davout's force is sucked into the fighting at Dunzling and will not assist.


Across the front French units emerge from the trees.


At Dunzling a tiny French force under Gudin hopes to stem the Austrian tide. It is already apparent that they are rather outnumbered.

The terrible 57e advances!


In fact the French advance across the front - concentrating on that weak point between III & IV Korps where communications are maintained by a single battery and two squadrons of Chevaux legers.


It is here that the Austrians fight back and the Vincent C/L (who were a bit reticent in the last game) crash into the 1/48e and send them bolting for the rear. The attack by the 57e is also driven off.

Turn 2: 


The French advance again from the Hausnerberg against the Austrian left which appears to outflank them. Certainly the Austrians have the advantage in numbers. For this game most French units have higher morale - it remains to be seen how much difference that will make.


The French again attacked across the line but only here did they succeed, 1/3e penetrated the Austrian line.


Elsewhere the attack degenerated into a desultory exchange of volleys (the 1/10e Legere seem to be suffering somewhat as they are down  to 1 hit point). 


Whilst Vincent's troopers once again saw off the attacking French in the centre the battery to their right was overrun owing to a misremembering of the rules that would cause the majority of the Austrian casualties throughout the game (I thought that having survived a round of short-range fire infantry only had to contact a battery to over-run them as artillery can't melee but I was wrong the artillery just fire again as their melee turn).

Turn 3:

The French have acted with aggression, perhaps hoping to follow up their success in the previous game. This is the best plan really - hope to maul those big Austrian battalions and throw them back before it becomes a battle of attrition that the French can't win. However- it isn't working. Despite my rule mistake luck isn't with Davout's command and every attack is thrown back.


So - they try again!

And again they fail - across the front...


The all-out attack at Saladorf - Surely this will succeed? ... It didn't!


Hoping to capitalise on their previous success, Vincent's C/L attack again - but this time they ae driven off and the French finally drive a wedge between the Austrian Korps.


Bieber's division moves up from Hausen.


Meanwhile at Dunzling - Pajol's Light Cavalry and the 7e Legere move up to bolster the position.


..And do their best to slow the Austrian advance.


Austrian Jaeger move to outflank Dunzling.


A hole is punched between the two Austrian Korps and the French begin to roll up the flanks.

Turn 4:
The French receive reinforcements and carry on trying to bludgeon Austrian III Korps into submission.
 Guiton's Cuirassiers join the fray at Dunzling but the French are short of infantry really...


French attack on III Korps - not going well - look at all those yellow flags - they denote disorder after failed morale or tactical disadvantage but the French have to keep up the momentum.

Reinforcements move up behind regrouping units - ready to keep up the offensive.


 The business of rolling up the flank of IV Korps also continues but this regiment are largely unsupported...

Apart from their inexorable advance on Dunzling the Austrians have been fairly passive so far but their reinforcements are also moving up and they launch an aggressive counter- attack.


While at Dunzling all attempts to slow their advance have failed. The French infantry have been driven off, the artillery overrun and the cavalry threatened.

Turn 5:

Things are looking bad for Davout (maybe I should have put his personality figure on the table - in its absence the French have been unlucky) - his attempts to pry III Korps from the Hausen bridgehead have hit a brick wall. Even with the rules mistake about artillery the French have made little headway(in fact the only Austrian units in the casualty box are artillery!). It only takes a few unlucky rolls to put you on the back foot in this game and when you are short of numbers you can't afford that.


Using all their reserves, the French make another effort - can't fault them for persistence!


They meet determined resistance.


There are still large numbers of Austrians holding the line.


And they counter attack...
 

And in a reversal of fortune, Austrian light troops emerge from the woods to the rear of the French position on the Hausnerberg. 
Turn 6:

This is all the French have left but they use it to attack again! Really this is a hopeless gesture and their attack is repelled once again. Dunzling is lost, there only cavalry holds off the pursuit.


Austrian grenadiers from the army's central reserve heal the rift between the two Korps.


Spearheaded by their cavalry the Austrians launch a final all out attack to crush the remains of Davout's battered command but the French hold their own and may withdraw in good order - night falls and the game ends.

So - I was back to my usual rules and the game was OK - I will tweak further next time maybe but all in all this was a better game - a bit predictable - attack and counter attack but I guess that is realistic? Historically the Austrians acted with much more caution and failed to take Dunzling or recover from their rebuff at Teugn but they had the numbers and although Austrian commanders felt that their troops lacked teh elan and tactical flexibility of the French they fought bravely throughout the campaign; they could have easily won here.
In terms of the game the Austrians were hampered by the misremembering of the artillery rule which was in fact responsible for most of their casualties. Had those guns stayed in action (as they should) I think the French would have got an even sounder drubbing.
Want to do something different next but not sure what... 


Wednesday, 30 September 2020

RATIOS

Ugh - sounds like maths! I suppose it is! But before you run away let me explain: When two wargamers meet for a game (and it is just a game) the ratio of figures on the table to their historical counterparts is of little consequence as long as the forces are reasonably balanced so each player has a chance of winning or achieving set objectives. When attempting to recreate a historic battle in miniature however, these ratios become immensely important. 

Many rules work on the basis that 1 figure represents a set number of men (say 1:20. 1:50 or 1:100 for example).The rules I have used for many years (Volley & Bayonet) work on the basis that rather than the figure representing a number of men, there are points per unit. So a unit represents a brigade and 1 point of strength represents 500 men. In pure V&B a unit is one base but I complicated this by having two bases per unit because I think it looks better and you can depict troops marching or in square without using counters. 

With me so far?

Right; currently a) dissatisfied with rules and b) fighting smaller battles... This has led to a series of dilemmas.

If I use a unit as a battalion I simply don't have enough figures for that and there will be no room for manoeuvre  same if I use a base (i.e. half a current unit) as a battalion.

If I use a unit as a regiment it is a bit odd and some of those Austrian regiments were pretty big in 1809. So I think I will go for something around this level - maybe making each base able to fight separately (using new rules but probably retaining the 'strength points') and perhaps giving the larger Austrian an extra base... I'll see how this works out...

So - currently this would be a French division with two bases representing a regiment. If you were to represent each battalion in this way you would need three times the number of figures = too many this area. If I go with each base representing a battalion I would only need to increase by a third. That's still a lot of painting. 


Battalions often operate independently, particularly in rough terrain so maybe that is the best way...

Or I could just divvy up the numbers, see how many 'strength points' that buys and distribute accordingly? Hmm...
 

Thursday, 10 September 2020

New Book!


Once again I have ventured into the heady world of publishing to bring you an in depth look at the French Revolutionary Wars. This one is quite chunky and covers the Campaign in Flanders 1793-95. It is mostly from the British perspective though as this was coalition warfare the other major events are also covered. There are a lot of battles featured within the pages so if you are looking for some inspiration for gaming this period you need look no further! There are numerous maps and several orders of battle provided but I would recommend using Google Earth whilst you are reading - especially on the street view setting which will give you a real idea of the terrain.

Needless to say there will games reproduced here from the book (as soon as I have painted Austrian, British, Dutch, Prussian and French armies for the period!) so watch this space!