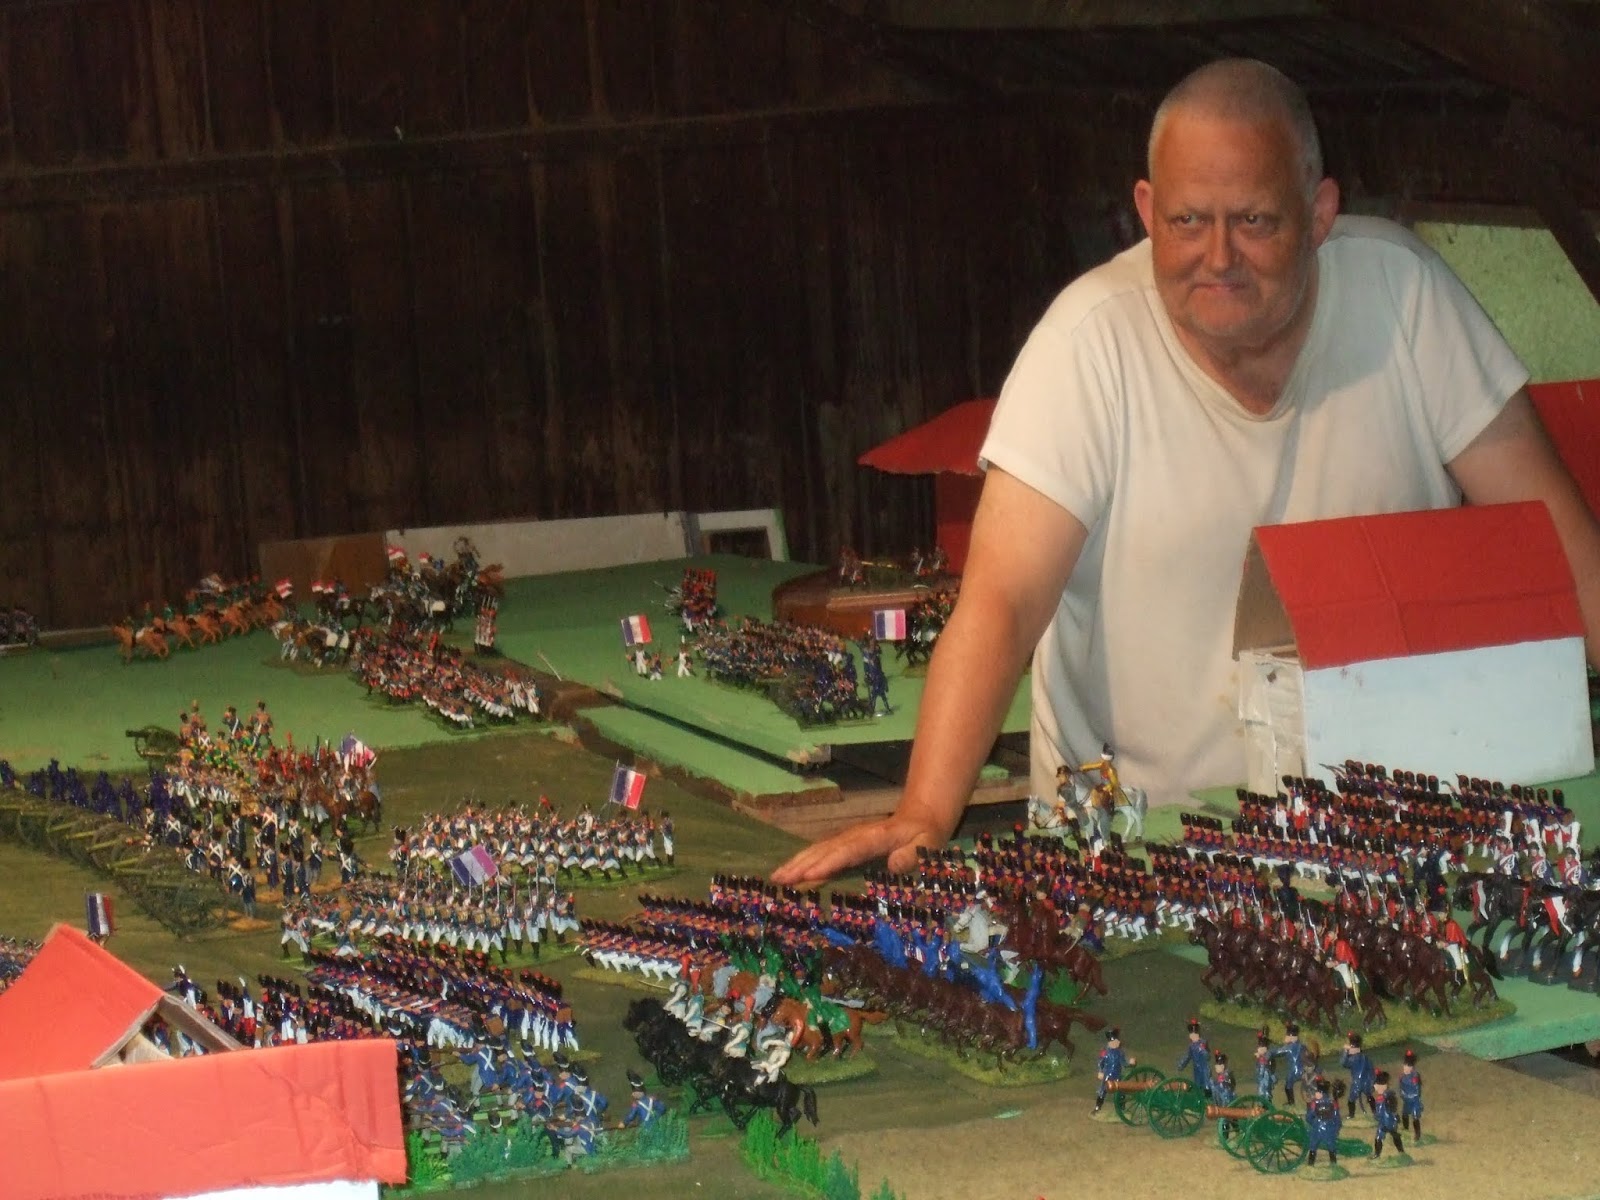
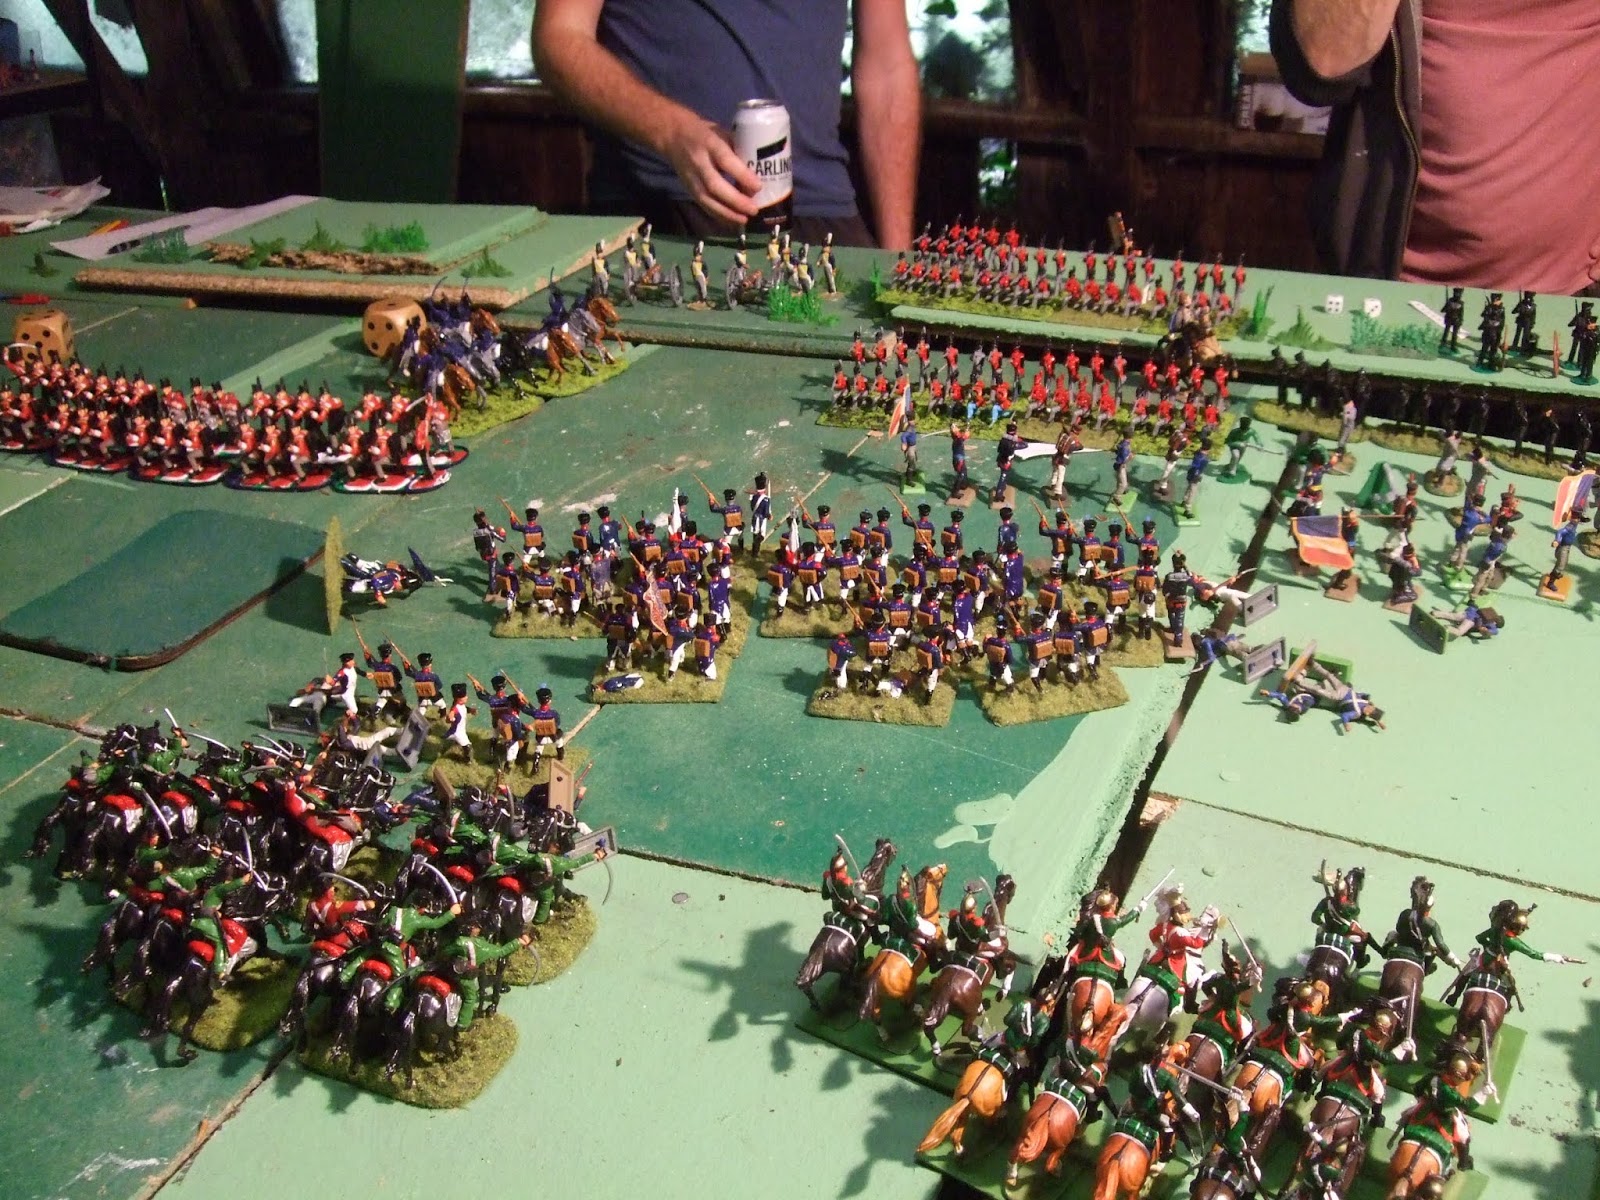
Tuesday, 31 March 2020

Bergen 1799

So I finally got to have a bit of a game- I am supposed to be on leave but couldn't go to Copenhagen as planned so...
Actually a bit of a disappointment - The game didn't really deliver. I had a few moments when I felt the  rules were a bit arbitrary- They work well for massive battles but I felt they didn't really deliver the narrative quality I was looking for here. Also the pictures are terrible - same camera as usual - maybe the peculiar light caused by the winter/spring weather we are experiencing. I plan to re-run the game/skip to the next battle in the series and do something a bit different.
so here are the highlights:


Here the Russians launch their attack along the edge of the dunes. Historically they set off too early; at least an hour before the proposed dawn jump off, so the dark picture works in our favour.
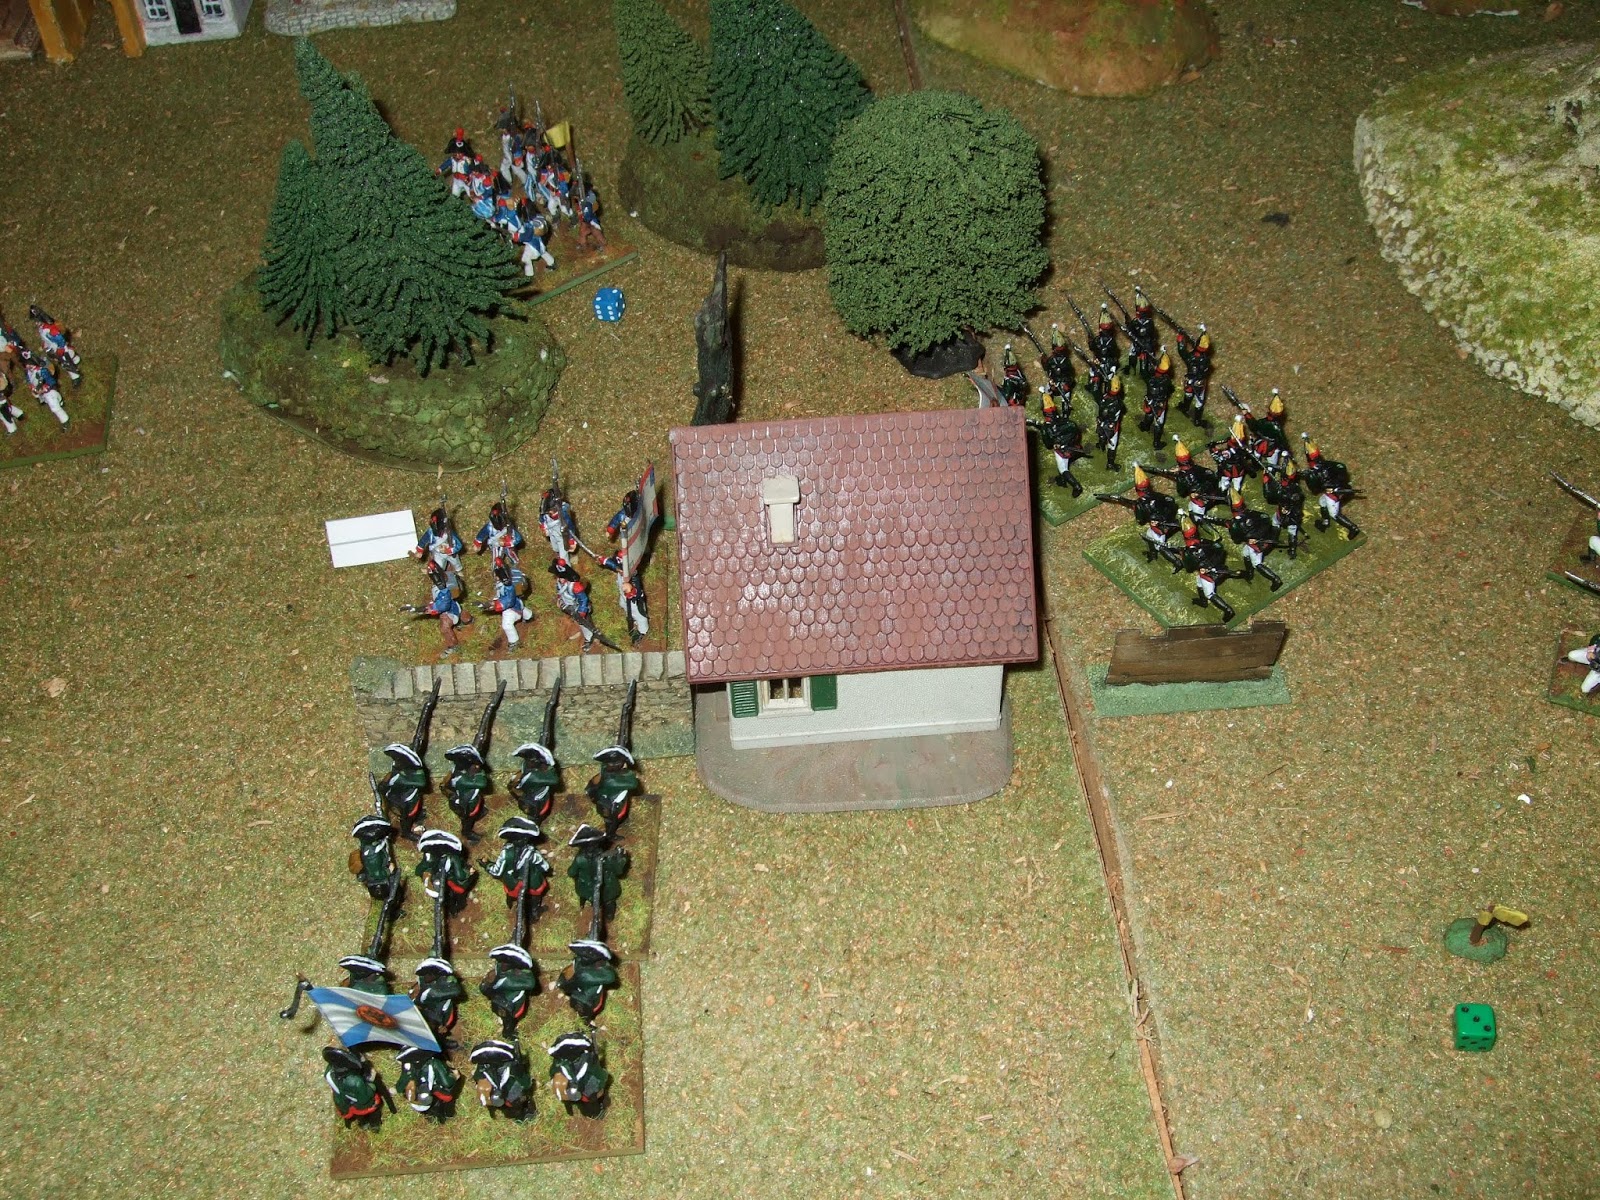
The defenders of Schoorl are brushed aside


And General Herman's column's plough on towards Bergen.

The British are now awake and moving at a random speed because of the rough terrain. They attack Krabbendam and drive out the defenders.


The advance is now general on the left.


The British press on with little opposition.


But the Batavians send up reinforcements!


Don's brigade - led by the glorious 17th assault Oud Karspel on the allied left.


The rest of Don's brigade frontally assault a Batavian battery - they make no headway but unbelievably suffer no casualties and this goes on for several rounds. Around this point in the game I became annoyed with the rules. Either nothing happened or whole units were getting wiped out in a single turn - it seemed to lack the to & fro that characterises this period of military history - there was little opportunity for a heroic narrative it was just 'do not, or die' it seemed - I tried 'Shako' for a turn - I like some of the ideas but the results were identical so I switched back to the devil I know - my highly adapted version of Volley and Bayonet.... 


On the allied right things are going badly - a Russian cannon has been destroyed in a counter battery exchange and the Russians are in danger of being thrown out of Bergen.


Vicious street fighting ensues.


The French move to outflank the Russians in Bergen.


They emerge from the gloom to envelop the hapless Russians (please note that their uniforms are much darker in natural light).


On the other side of the river the Batavians also move up.


... and just in time as the British finally take that artillery position.


The Russians are forced out of Bergen but that is probably to their advantage - can they escape or will that column hit them in the flank?


They pull back and attempt to rally - the whole force is pretty battered and it's British reserve has failed to take the bridge and link up with the main army.


The British and the Batavians finally make contact in significant numbers but by the rules of the scenario the battle should end here. A bit of a damp squib - nothing much has happened really and what fighting there was has been pretty inconclusive - the dice are probably broken. I am going to have my tea but might resume the battle later...


Saturday, 25 January 2020

Fog of War

Am currently researching the battle of Neerwinden for a talk I am giving on General Mack and am struck once again by how little 18/19th century armies seem to have known about the strength and dispositions of their enemies. I know the 'fog of war' issue gets discussed frequently in wargame periodicals but it is so rarely adequately simulated on the table. Sadly as I tend to play games where a) time is limited b) my opponent doesn't hold with such frippery or c) my opponent is me, I doubt I can test out ideas I am having on this - maybe if I train up the lad to a sufficient level?


Neerwinden in 1793 was a classic encounter battle between the Austrians under Coburg and the French under Dumouriez. The French outnumber the Austrians by about 44,500 to 41,400 (so not much in it). The Austrians have twice the number of cavalrymen (9800 to 4500) but don't seem to have used them for scouting. The French move first and subsequent Austrian plans are based on teh belief that the main French strength is attacking their right... but they don't know...
And this happens a lot - at Jena Napoleon thought he was facing the whole Prussian army - he wasn't.
At Austerlitz the allies thought that Napoleon's right was wide open but that gap was waiting to be plugged by Davout (who only just made it by some serious forced marching).
Maps were wrong. Columns were sent down unsuitable roads, roads that didn't exist, roads that were already occupied by other columns.
A walk in teh countryside will show you that even with a good map (and GPS) it is easy to get lost in unfamiliar country and the extent to which even barely noticeable folds in teh ground can conceal landmarks (and groups of your mates lying in wait).
How often is any of this seen on the wargames table?
I am going to give this some thought and one day will report back on a suitably random game- though there is a limit- you do have to feel like you can direct events to a degree or there's no point playing!?

Friday, 13 December 2019

A picture tells ...?


Whilst researching for my latest book I have come across a range of interesting images not all of which can be relied upon as historical sources. Or can they? Do the artists know something that we don't?
This is the battle of Tournai in 1794- probably painted in the 19th Century. We see the Austrian commander and his staff observing (or perhaps directing) the battle. The figure on the white horse may be intended to depict the Prince of Cobourg and perhaps the officer with the drawn sword is Archduke Charles? We have Austrian Cuirassiers and dragoons, possibly a wounded Frenchman and what appear to be British or Hanoverian cavalry though the uniform appears fictional as does the flag. Quite pretty but probably of limited historical significance (ASKB)


This is considerably more useful. This (also from ASKB collection) shows the attack on the French fortress at Valenciennes- though presumably not the final storm as that took place at night. I would love to know who all these people are. Presumably the central figure is the Duke of York. Next to him may be one of his brothers (two of whom served in teh campaign) or possibly Murray his Adjutant-General. The dismounted figure in the foreground looks like Abercromby but surely lacks sufficient lace for one of his rank? the figure in white is possibly an Austrian Liaison Officer (then again he could be Dutch. Once again there are (presumably) defeated Frenchmen, there again they could be Hessian or Hanoverian cavalrymen? There are Austrian hussars, civilian train drivers and British Artillery in 'Mother Shipton' hats. This painting was clearly made at the time or very close to it and is of great interest to the historian (and figure painter) - both pretty and useful!

Bashing a Bishop


Well - there still hasn't been any gaming. There is a game set up but just haven't made it into the loft but I have been doing a fair amount of modelling and painting. There is also a skirmish game with 54mm figures that I might put up some pictures of but that was so long ago I can't remember much about it. Anyway, I have been trying to get through the mountain of tank kits that I bought every time someone suggested that we did some WW2 gaming and of course I like to use up all the bits that are left over as well- Waste not. Want not....
What the heck is that? It is an early British self-propelled gun called a Bishop. It was used in the Western Desert Campaign and I have crudely fashioned this one using a left over PSC Valentine hull with a turret from balsa and plastic card - like they used to do in early days of wargaming when everyone was out to save themselves a few bob.


Looks a mess! It got better!


That Balsa turret caused me a few problems when it came to painting - just soaked right in! Hopefully should be able to show it in use at some point.

Saturday, 31 August 2019

Waterloo 54

Well as mentioned previously, a friend of mine had been planning a large game based on the battle of Waterloo using 54mm figures. This had been discussed over many a glass of port for some years so it was nice to actually get the ball (or dice) rolling. I have loved the 54mm Airfix figures since I started wargaming at a very tender age back in the 1970's and planned to use the exact same figures I started with (repainted) with some more modern reinforcements. Anyway after months of toiling away with the paintbrush we were ready to go.

Initial French deployment. 
The rules "Charge" which the host has been using for some years. I took the role of umpire and felt that this rather large grand battery would swamp the game if the rules were not tweaked. Therefore, range was reduced from 6 foot to 4 (still pretty eye watering in comparison with more modern rules- especially when considering that these are the original distances worked out for 30mm figures rather than 54mm)
The Duke of Wellington begins the mammoth task of deploying his army.


In keeping with historical precedent the allies deployed their army out of harms way on the reverse slope of the famous ridge. He we see Sir Thomas Picton with some of his highlanders (Irregular Miniatures)

I had painted a fair number of French cavalry - here some of them form up on the French left

That battery again with some supporting units. The table is around 25 feet long.

Long shot from the French left.

The allies prepare to meet the onslaught

La Haye Sainte was immediately garrisoned - in time this garrison grew to a size that was perhaps unrealistic and its fire devastated the French units that attempted to assault it.

The units in question begin their attack.

They are led by Marshal Ney who, perhaps suffering from PTSD, ran amok on the battlefield.


Those Dutch I lovingly painted and hardly fired a shot!

Our host, playing Napoleon - looks like he has a cunning plan!


The problems of a vast table -the centre cannot be reached and the battlefield must be scrambled across physically to move the troops.

Large bodies of French cavalry move up to the left of LHS to support the infantry assault.


On its other flank a vast column of Imperial Guardsmen moves up; supported by cavalry.


All the action revolves around the LHS farmhouse complex. There had been a battle around Hougoumont but I don't seem to have any pictures of it and it was over by the early stages of the game.


The French, under Ney, are having the worst of the firefight on their left - perhaps that cavalry will swing the balance?


Battle is joined!

The deadly grand battery, having been stymied by controversial rulings regarding its range and ability to move finally deployed within range of the allied line.


Marshal Ney breaks into LHS - ALONE!


While Ney goes wild at LHS, the Prussians have arrived and the French send light cavalry to slow their advance.

This is not entirely successful - here a unit of hussars and chasseurs are driven off as Blucher's troops begin to make their presence felt on the extreme edge of the battlefield.


Here an allied regiment is caught in the open by French cavalry but nearby units lend their support.

Field Marshal Blucher - having waited patiently for the first half of the game now has some serious numbers on the battlefield despite the desperate efforts of the French cavalry to keep him off!

A lot of pointing going on - wargaming at its most intense! 
The French grand battery has pretty much wiped out the allied batteries on the ridge.


British footguards prepare to support their Hanoverian comrades.

... And painstakingly converted Dutch Carabiniers move up to deal with Ney's cavalry.

French right begins its sluggish advance - perhaps too late?

Looks nice though...

By this point in the game the players were flagging. Perhaps the 8 inch infantry move I instituted slowed the game too much... Lesson learnt. Although the French scored some successes against the Prussian cavalry, their defeat on the right was a matter of time - they just didn't have the numbers. On the left a viscous melee and fierce firefight had decimated Ney's command while his continued pleas for reinforcements went unanswered.
The hopes of the French Emperor now rested solely (and historically) on his huge column of guardsmen. Although they seriously out numbered the allies behind the ridge their initial onslaught did not break though. It was felt that the reinforcements that Wellington could now transfer from his flanks would enable him to enfilade the column, meaning Napoleon could not win.
The fog of war had been maintained throughout the game by the passing of orders to the umpire who diced to gauge when they were delivered and added dispatches of his own. Needless to say; Marshal Grouchy did not arrive.
It was an interesting exercise - the sheer number of troops involved and the size of the table was a challenge, as was trying to keep the action within historic bounds. It may be that in attempting the latter I slowed the game down too much and made it unwinnable for the French but we got a historic result in a battle that differed little from its historic predecessor in its narrative.
It may however, be  a while before the 54mm comes back down from the loft!