Sunday 8 August 2021

Thann 1809

 The 1809 obsession continues. I was just about to move on from the events of 19th April when this popped up on a popular auction site:


I don't know if any of you recall this series but basically, Peter Heath was doing in the 80s what I am trying to do now - namely recreate historic battles in an accurate and hopefully enjoyable manner. He published a series of pamphlets detailing particular battles which were advertised in wargames magazines - I'd never actually owned any until now. This one covers all the battles of 19th April 1809 but I had already done quite a bit around Teugn/Hausen etc. so concentrated on the action just to the south where the Bavarians were deployed. In reality, Thierry was pretty much abandoned to fight the whole of VII Corps by himself but there were substantial Austrian forces nearby that only arrived late in the day despite their proximity. I included some of these troops otherwise it wouldn't have been much of a game. 


The table - Austrian V Korps are bottom left; Thierry's Brigade are in the centre around Kirchdorf and that's the Bavarians on the left approaching Biburg. I had to double the size of my Bavarian army for this battle - luckily had a few 'in stock'.

Starting Positions:


Thierry's Brigade occupies the high ground.


While the home team moves towards Biburg.

Turn 1:


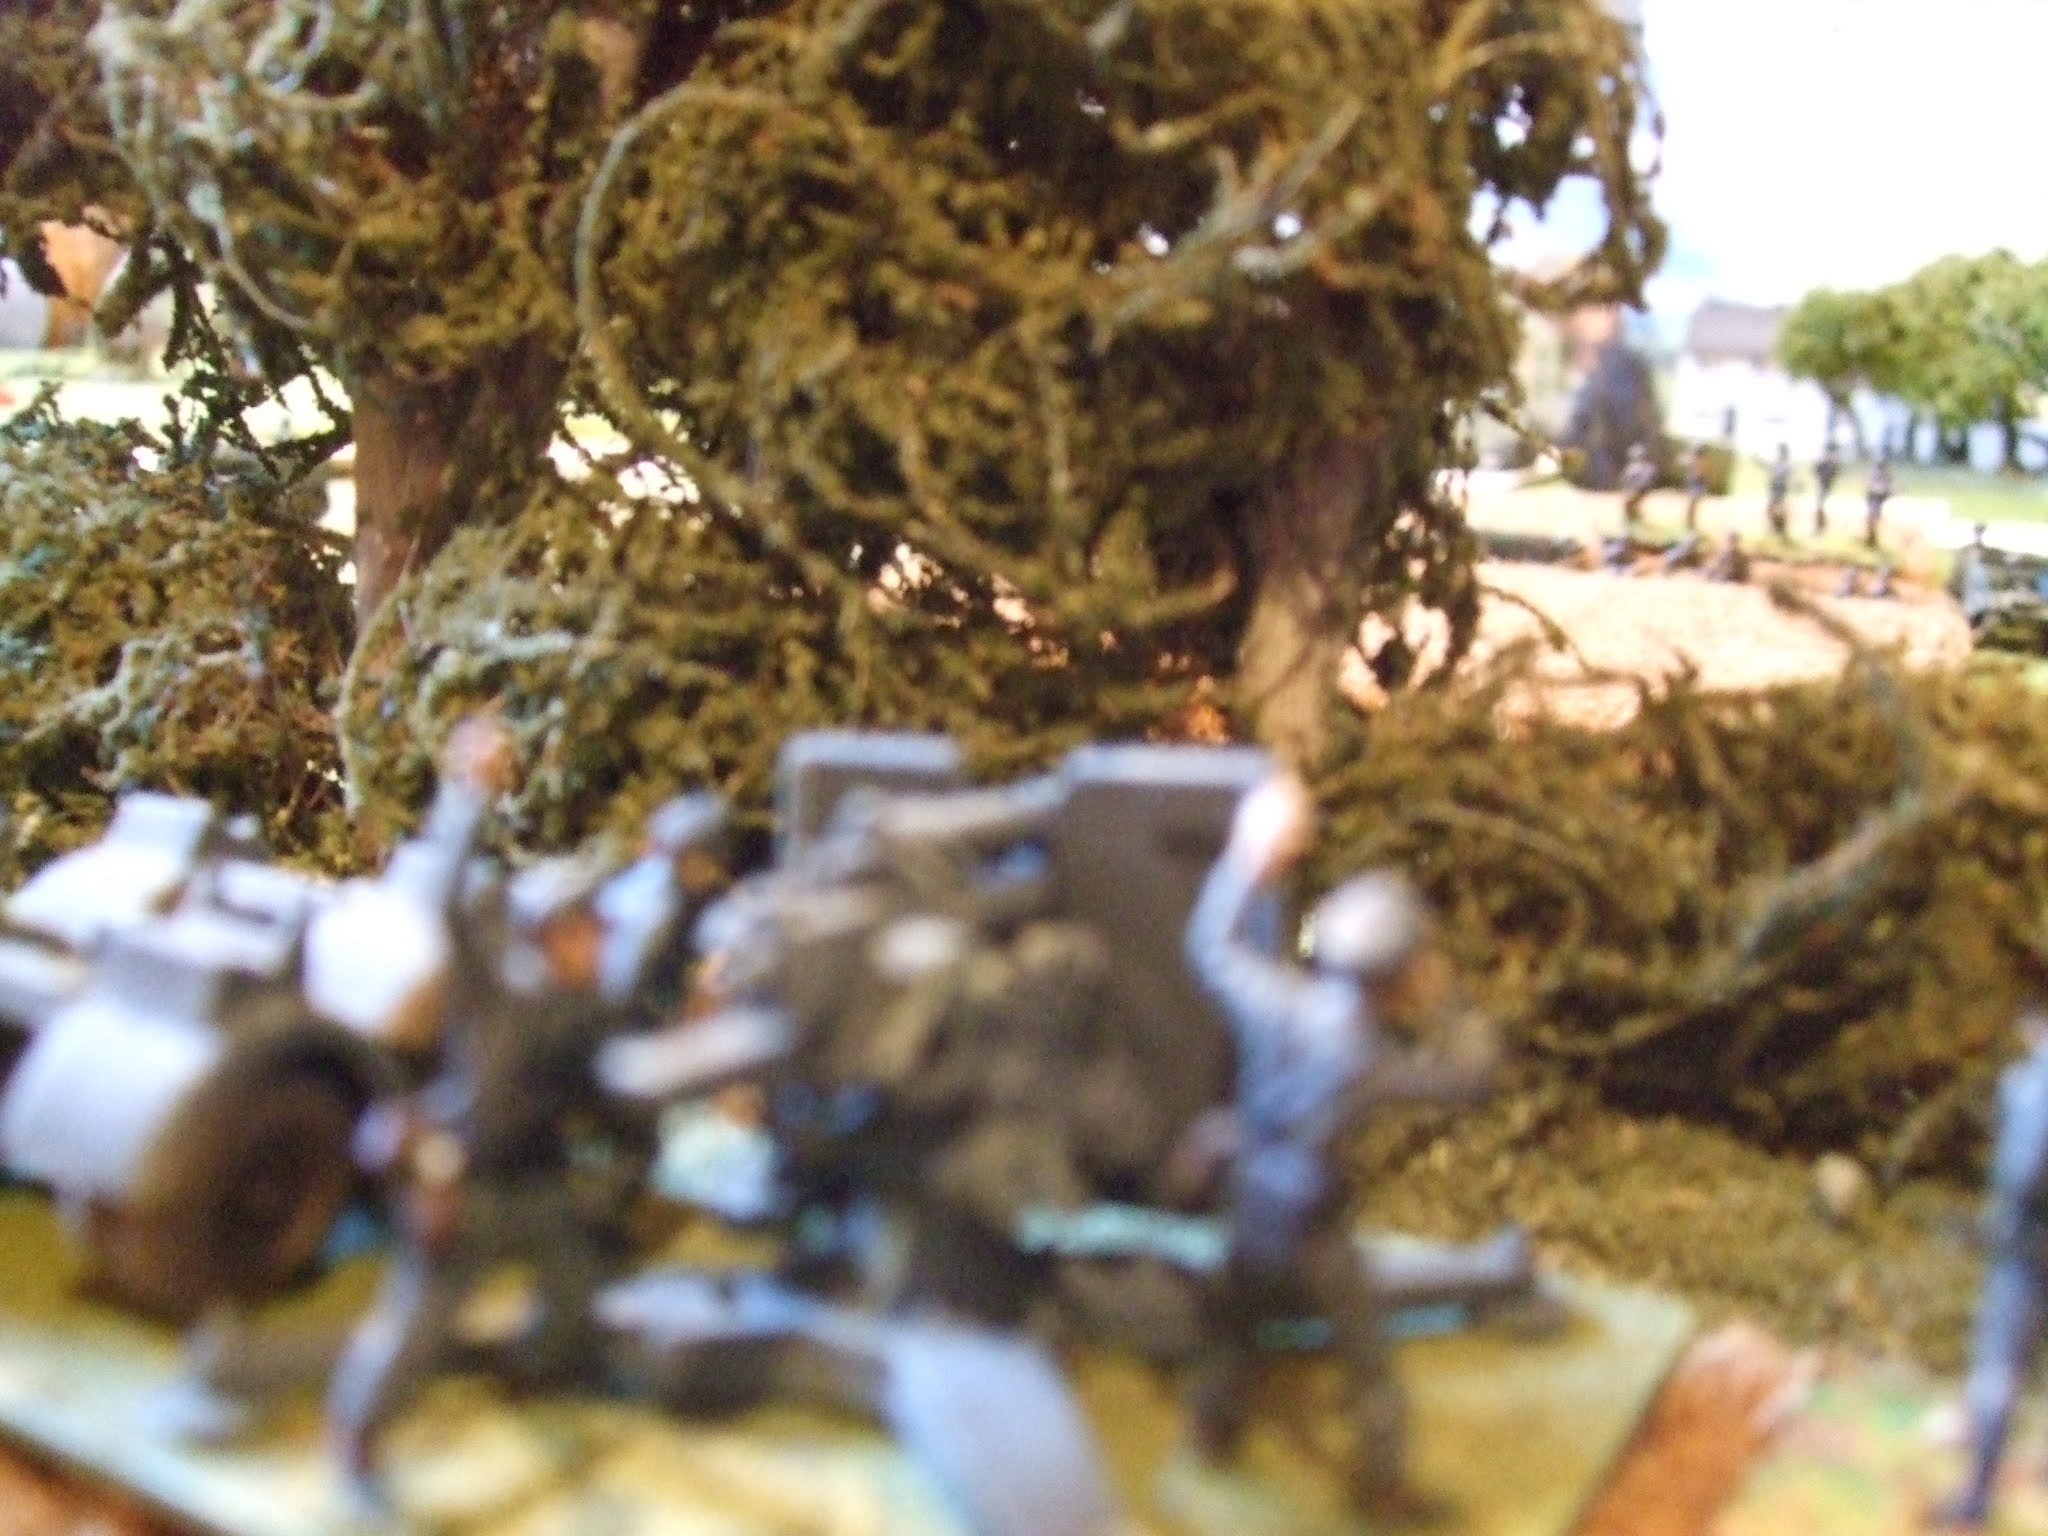
A Bavarian General (probably Deroy) observes the enemy. (All figures converted from the Italeri Imperial General Staff set).
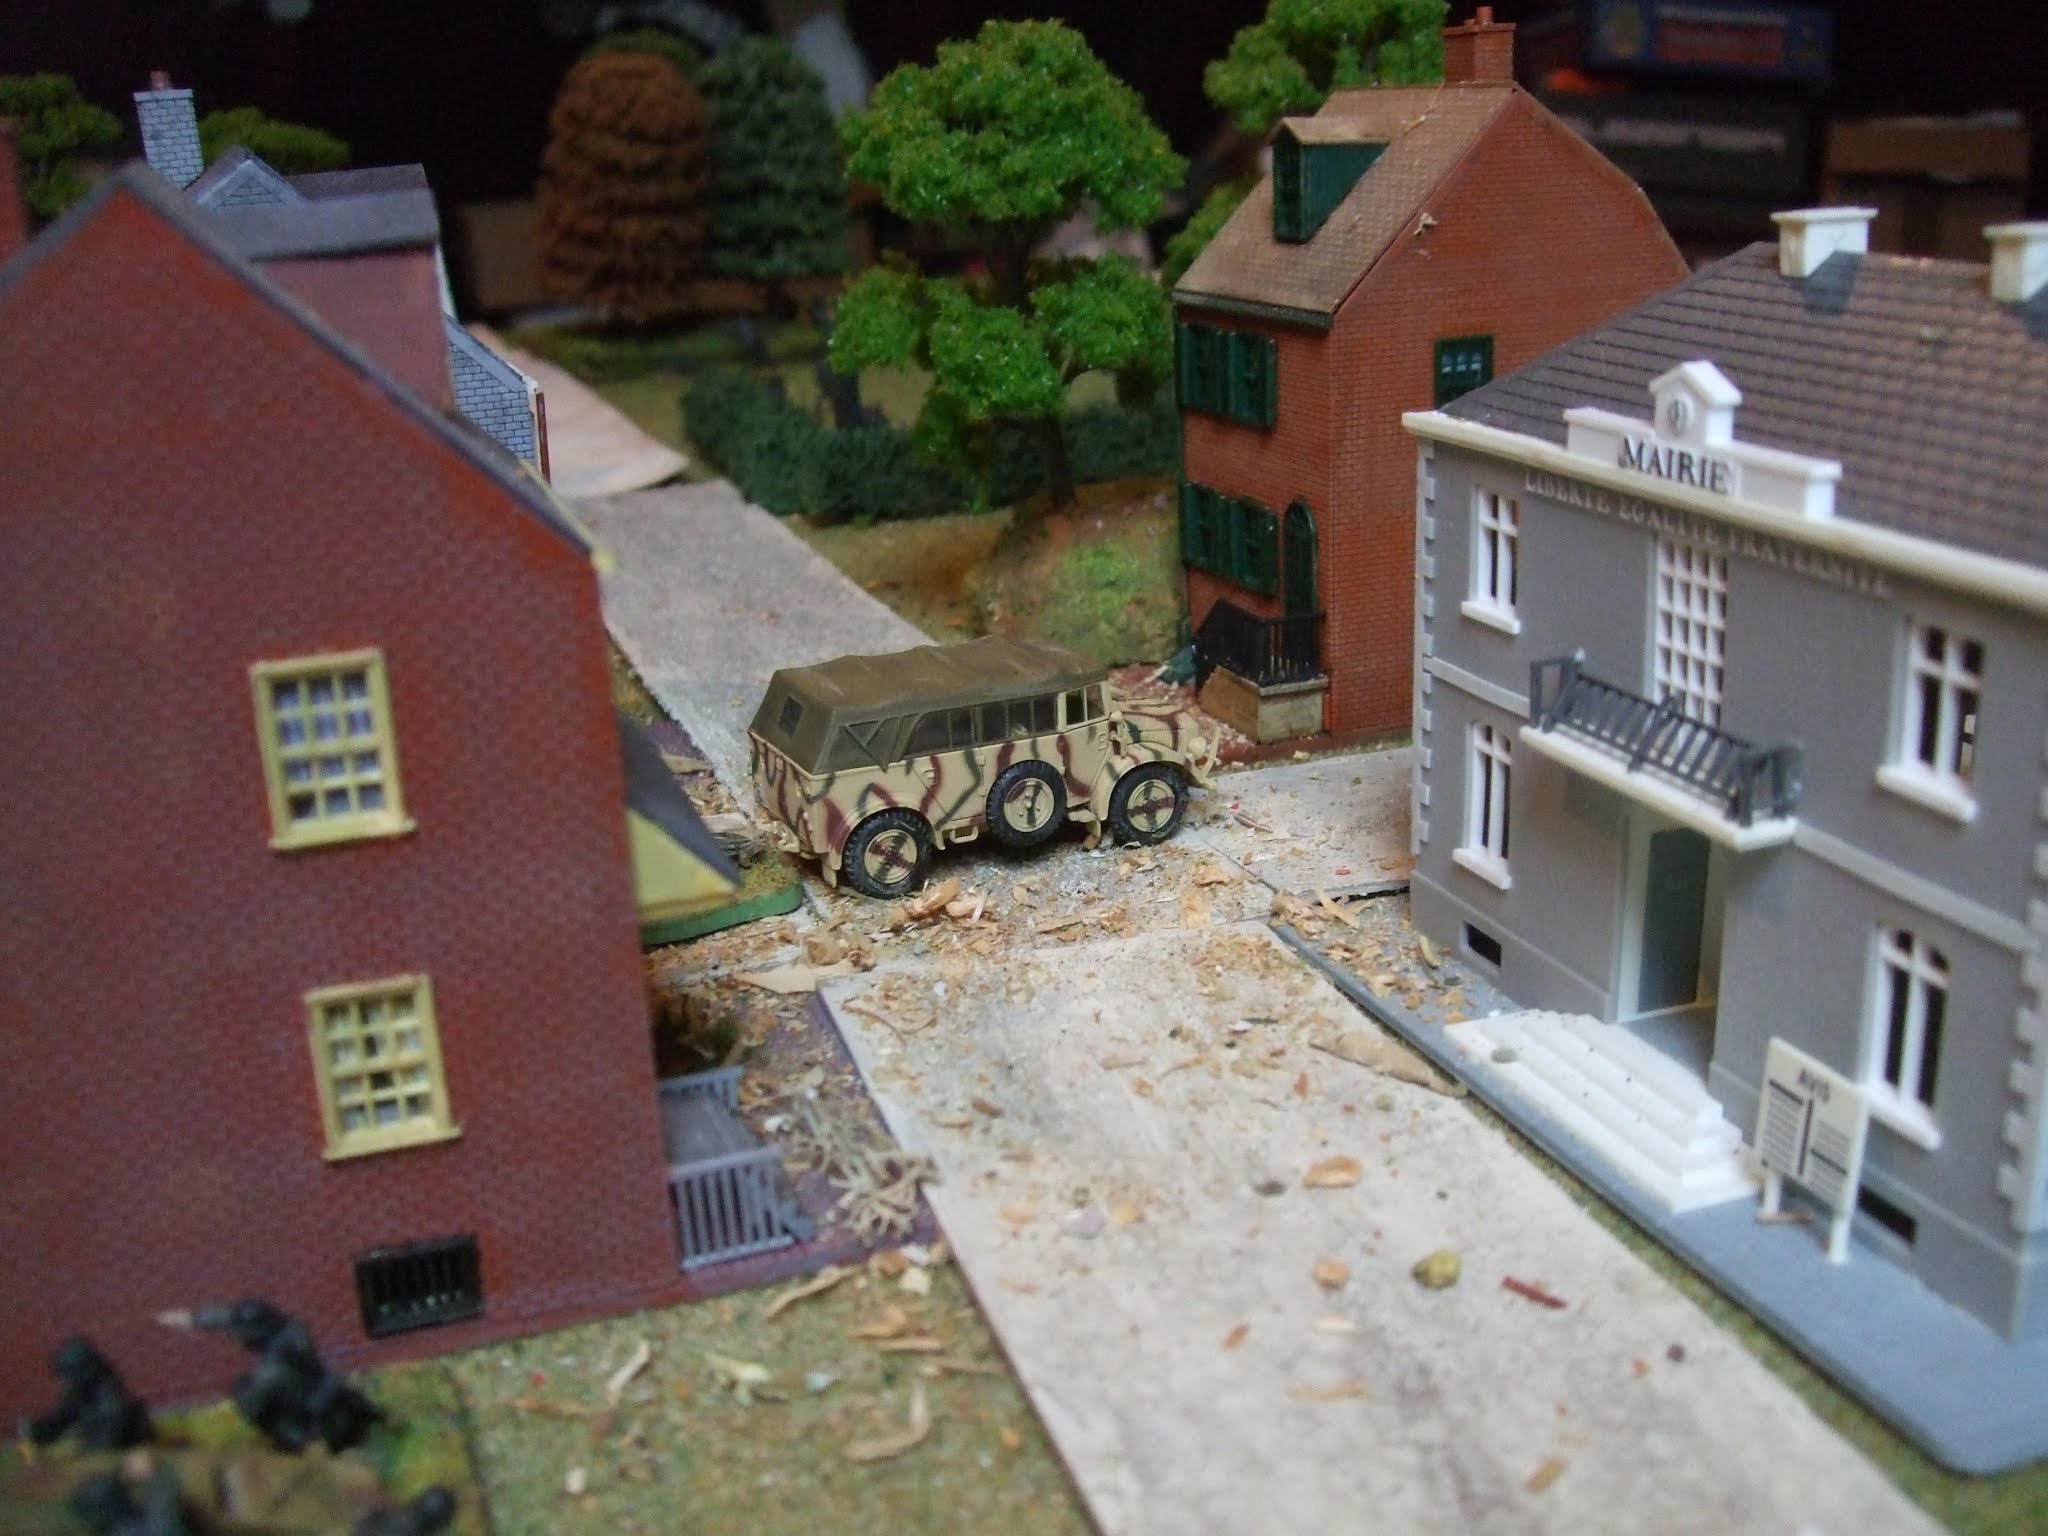
Biburg is occupied.


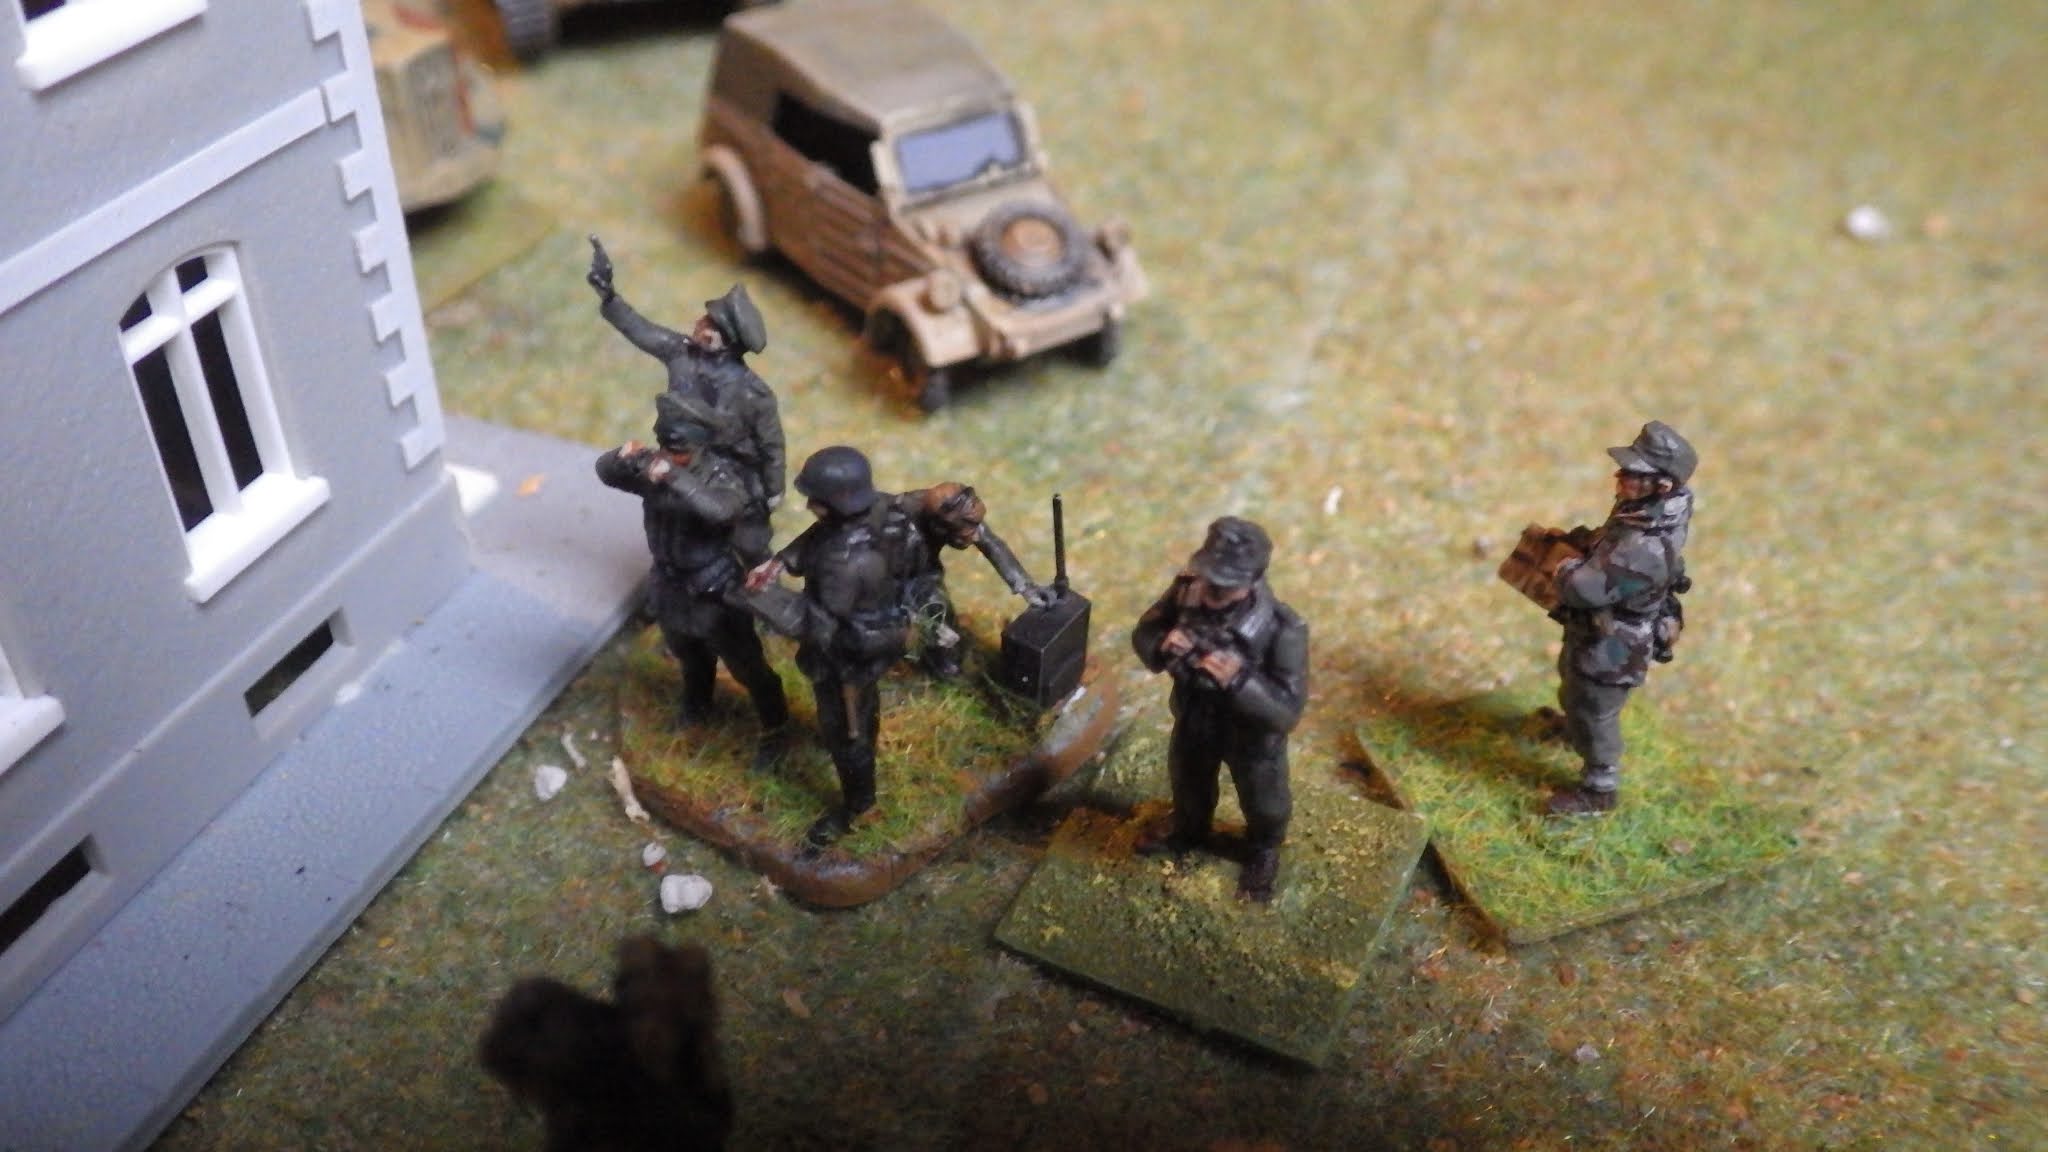
The Bavarians advance across their front - here Wrede orders up his cavalry and the heavy guns of the Corps Reserve.

                                            
                                            The Austrians seek to consolidate their position.
              

                    Thierry shakes out his force and establishes contact with Pfanzelter to his right. 
  

Turn 2:


Wrede moves up south of Biburg to intercept advancing elements of the Austrian V Korps.

 
Thierry remains out of range and so there is no action in the centre but Pfanzelter fires his battery to no effect.                   


.... And the guns of V Korps also echo across the valley but do the Bavarians no harm.

Turn 3:


The Bavarian left advances against Pfanzelter.


They move uphill against his Grenzer and overrun his sole artillery battery. Although the Grenzer prevail, the position is outflanked and the brigade seriously outnumbered. 


Pfanzelter opts to retreat, covered by his hussars whose sudden appearance panics the Bavarians who rout allowing the Austrians to draw off in good order.


                                        Wrede holds his position and dresses the line.


                                    The Austrians move down from the hills to attack him.
Turn 4 (14:00)

The Bavarians face a dilemma; their units are smaller, so they will most likely lose a battle of attrition. Therefore they should attack and hope their superior morale drives the invader from the field but they are seriously outnumbered on their right and have been somewhat savaged on their left...


They go for it and move up across their whole front - here Wrede attacks, covered by his guns.


 Pfanzelter's brave hussars are overwhelmed 2:1 and the unit is wiped out.
Part of V Korps is thrown back and the Austrians lose a battery in front of Biberg.


Do I hear the Radetzky march? No - its not been composed yet but Radetzky has arrived and launches his uhlans in a bold flank attack. The Bavarians are sent reeling but the follow up is less successful so the uhlans fall back again.

Turn 5 - 15:00


The Bavarians continue to attack - forcing the Austrian right to change its facing.


Advancing uphill, Wrede's Division pummel V Korps and send them reeling. Just when it looks like the plan is working the V Korps reserve artillery arrives to save their comrades!

 
At Kirchdorf, Thierry's Austrians stand firm.


The revitalised Austrians turn the tables (and their guns) on Wrede's men!

Turn 6 - 16:00

STAY TUNED FOR MORE!


Sunday 4 July 2021

Country Life?


 No - this post isn't really about country living but this rather bucolic view is taken from the scene of my latest (well, only) wargame with actual people. In this delightful spot we refought the battle of Marengo using 30mm figures provided by our host, Ian Kay of Irregular Miniatures.


The French take position around the village of Marengo.


The Austrian right immediately moves to outflank them.

The French chose to weather the storm.

French hopes rested on the arrival of this lot from San Guiliano.

Here they are again in close up (NB - I didn't take any notes during this game and some of my pictures weren't very good but you get the idea!)

I commanded the Austrian left and here my troops begin a bold march round the French right flank- We were using un-adapted Volley & Bayonet rules and the moves are HUGE!


Meanwhile Marengo was subjected to a frontal assault.

 
... and the Grenzer began to snipe from the woods.


The battle in this sector soon became fierce with more units being fed in by both sides.


While in the centre Austrian cavalry sought to slow the advance of the French reserves. (we then had a nice lunch provided by Mrs Kay - for which; many thanks!).


Some Austrian units did suffer reverses but generally we felt that the odds were stacked against the French, Using strict V&B rules, they had trouble keeping their units under command, suffered heavily from the fire of the battalion guns embedded in most Austrian units and were completely finished off by 'divisional exhaustion'. 


By this pint of the game the Austrians had taken Marengo and suffered very few casualties. The larger units of the Austrians meant that they still had plenty of troops left whereas the French were pretty much finished. This was pretty much the result of the first stage of the battle historically but we felt that in this game the arrival of Desaix would have made no difference to the result.
The French general said had he known that the Austrian units were stronger and had better fire power he would probably not have tried to hold the position on the from stream but we all agreed that it was a pretty hopeless situation altogether and after lunch the result was never in doubt. Although disheartening for the French player it was interesting to try this early Napoleonic battle and great for me to get out and have a game with other people for once!


Friday 30 April 2021

Cry Havoc!

 Sadly I am still too busy to do any actual gaming so will take this opportunity to share some of the stuff I have been up to. As usual, I have been painting lots and having crazy ideas. The latest thing that has enthused me, beyond the ongoing obsession with recreating the entire Napoleonic (and possibly Revolutionary Wars) on the tabletop, is the idea of doing some medieval skirmishing in 54mm. I have loved the period, the scale and model knights since I was a nipper - I may even have a picture somewhere of a mighty battle on my bedroom floor with such figures. 

Anyway, there has been a trend of late for skirmish wargaming that I do not entirely approve of. Some people's idea of 'skirmish wargaming' is just (as far as I can see) a normal wargame with less figures. This isn't what I am aiming for - I want to recreate the kind of scuffles that were historically fought between a handful of troops. These could be clashing foragers; troops of light cavalry, with their support, trying to ascertain their enemy's whereabouts or irregulars harrying lines of communication and supply. Much potential I feel.

The 'medieval' period is pretty vast in scope so I have decided to concentrate on two or three main areas where I believe there may have been small scale battles. The first will be the Anglo-Scottish wars of the 14th century, which featured a lot of cattle rustling and cross boarder raiding. The second will be the hundred years war period which featured a form of raiding known as the chevauchee which is ideal my purposes - this can also be expanded to include similar squabbles occurring elsewhere in Europe at the time; particularly Italy where Free Companies caused much bother. I also plan a force of Turks to be used against either of the forces raised above for various crusades. I am less sure of my ground here but feel there must have been attacks on caravans and scenarios around siege warfare (besides I've had the figures for some time and want to use them!)


For the 'blue team'! Airfix Medieval Foot soldiers - painted pretty much as they come. I chopped off the shield boss as they were quite rare by the 13th century and certainly by the 14th. Also tried to make the two handed sword less silly and obviously 16th century - whilst the figures for the medieval period are nice, the sculptors seem to have played fast and loose with the historical details. I bought these from the local newsagents in 1979 for 50p!


OK - the two on the left are a bit late for HYW but the chap on the right is spot on - all figures here are Irregular Miniatures.


These are all Scottish knights - they seem to be having a falling out! The figures are from those packs of 'Hero Knights' you can get in some toyshops and online - They are (I believe) copies of 1/72 Italeri crusaders upscaled. They paint up alright and a very cheap!


A mix here - Ralph de Warenne is a Britains knight with a repaint. The others are again Airfix - this time with a new sword replacing the, probably, mythical flail.


English knight - repainted Britains 'detail' with new sword.


Now this lot I am quite proud of! French knights; two repainted Britains, two are heavily converted from some Chinese made tat from Ebay - origins obscure. They are very thin, almost demi-rond and had what looked like Roman helmets. Bascinets were fashioned from Milliput and the figure on the left got a new shield from card - you'd never know! 


Well, you've got to have some of these! - Irregular, Airfix, Britians/Herald & Britains 'Detail'.


The opposition - Irregular, Italeri and a Britains kneeling archer with a repaint and a crossbow from the spares box. You can't really fire a longbow from a kneeling position so they will all become arbalesters.


Few more French knights - You need quite a few of these too really! - Irregular and Italeri.


We probably all had one of these! Britains Detail painted as Sir Thomas Kyriel - he was right at the end of the HYW so can probably get away with this late gothic harness! There are still quit ea few to paint - they are fun and look quite nice - I wonder if they will ever get used?


Sunday 21 February 2021

Villiers-Le-Sec: 6 June 1944

 As warned my latest foray into the loft involved a Second World War game. Probably going to become more frequent as I put the finishing touches to those armies I started way back in 1979! The scale was 1/72 (20mm) and the scenario was taken from 'Rapid Fire! Normandy Battlegames' by Richard Marsh and Colin Rumford. I have been using their rules for some years though they rarely get an outing:


The empty battlefield from the south (German) end. It was rather an improvised affair with buildings last seen at Ligny and roads made from textured wallpaper but it was OK.


Turn 1: The 6th Durham Light Infantry deploy in Crepon (yes that IS an Airfix Waterloo farmhouse).


Jerry is waiting and has two of these nasty surprises deployed! (Nicked from my Afrika Korps and given a new crew converted from whatever I could find).
Turn 2:


The DLI edge forwards.


Support weapons are deployed at the edge of a copse - the advance is on a wide front - possibly a tactical error but as yet there is no sign of the enemy. (Vickers MMG - Esci, Carrier - Airfix).


Speak of the devil - reinforcements rush into Villiers-le- Sec - elements of the 1/352nd - these are a bit of a mix - PSC, Caesar, AB...


The Pioneer Battalion - Airfix and Esci - the legacy of a long gaming career - the Steyr is PSC.

Turn 3:
 
The Durhams continue to edge forwards ('tactically' as we used to say in the cadets) - there has as yet not been a shot fired - the British probe the position whilst the Germans hastily reinforce it.

 
More surreptitious deployment of support weapons...


 Will the Huns pass their observation roll? He looks like he's spotted something! (AB & Zvezda figures).

Turn 4:
Both sides have been continually reinforced and move towards each other but no-one has been spotted yet and there has been no shooting!


The British deploy a mortar - must have spotted something!


The Germans however get there first!


The action hots up as an 88mm takes out a Lloyd carrier.


The DLI press on regardless.


Just as well for this game has turned into a race for the best defensive positions! Shouldn't there be some tanks?

Turn 5:


At last - British armour arrives!


An advance party of the Durhams reaches a field boundary which I treated as hard cover throughout the game but wasn't supposed to be!


Whilst on the other side, an infantry company and support takes up position amongst the bocage for which Normandy is so famous.

Turn 6:

British armour moves up to the cross roads but Fritz spots the movement - Feur !
 

It's sixes all round - direct hit! The 88 can see the smoke from their position.

Oof! Unhealthy crossroads! (downside of using wallpaper for your roads - maybe should have glued to something?)


The rest of the unit beats a hasty retreat to Crepon - they don't even know there are two 88s!


The Germans move up more troops to hold the British advance.


The pioneers dig in to support that 88 battery - oh and they have a mortar - poor Durhams advancing across the open fields!

Turn 7:
I must confess at this point that I didn't take any notes while I was playing this game so I am not actually sure what turn we are in anymore!


Word from HQ - Advance must continue!


Unsupported the DLI edge towards the Hun - (figures a mix - PSC, Caesar & AB)


Predictably they are fired on from all directions.


The Germans are well equipped (mortar AB - Panzer Grenadier - Atlantic! 105mm is Hinchcliffe I think)


Casualties mount.

Turn 8:


The British call in the big guns - OP Carrier converted from PSC Universal carrier with bits of plastic card and a few spare parts.

The Durhams move into the cornfield on the British right.


The Germans are emplaced on the other side of the field and a furious firefight ensues.


The Germans bring up support (although I was unaware that they had an HE capability so they weren't that much help!)

Turn 9:
 
The Durhams have by now run the gauntlet of the fields between Crepon and Villiers-le-Sec and are now engaged in close quarters fighting along the whole front.


The dastardly Huns outflank our boys in cornfield.


They are driven back with heavy losses.


German Stug III engages DLI attacking the bocage.


An M10 at the edge of the woods engages the Stug and it is driven off...


Fierce fighting continues in the hedgerows.
Turn 10:

The artillery fire slackened off as both sides are now closely engaged and open targets are few. It is down to grenades, rifles and machine guns and ultimately the bayonet.


The Durhams breakthrough the hedgerow in the German centre. 


On the German right the pioneers try to outflank the DLI.


But British reinforcements check their move.


The Stugs come out again to support the German retreat on their left.

 
German support elements head out of town...

Turn 11:
The British are at last making headway across the front. They have taken heavy casualties and their armour after its initial fright had done nothing but is starting to edge down the British right flank.

The Durhams break into the farm in the centre of Villiers-le-Sec


And on their right they move against the pioneers.


Who make a fighting retreat.


Free from the threat of the dreaded 88s the British armour finally emerges and the Durhams consolidate their various positions.


The Uber Huns decide they don't have the strength left to hold their position and call for a retreat...
The game is over!