As warned my latest foray into the loft involved a Second World War game. Probably going to become more frequent as I put the finishing touches to those armies I started way back in 1979! The scale was 1/72 (20mm) and the scenario was taken from 'Rapid Fire! Normandy Battlegames' by Richard Marsh and Colin Rumford. I have been using their rules for some years though they rarely get an outing:


Turn 1: The 6th Durham Light Infantry deploy in Crepon (yes that IS an Airfix Waterloo farmhouse).

Jerry is waiting and has two of these nasty surprises deployed! (Nicked from my Afrika Korps and given a new crew converted from whatever I could find).
Turn 2:

The DLI edge forwards.

Support weapons are deployed at the edge of a copse - the advance is on a wide front - possibly a tactical error but as yet there is no sign of the enemy. (Vickers MMG - Esci, Carrier - Airfix).

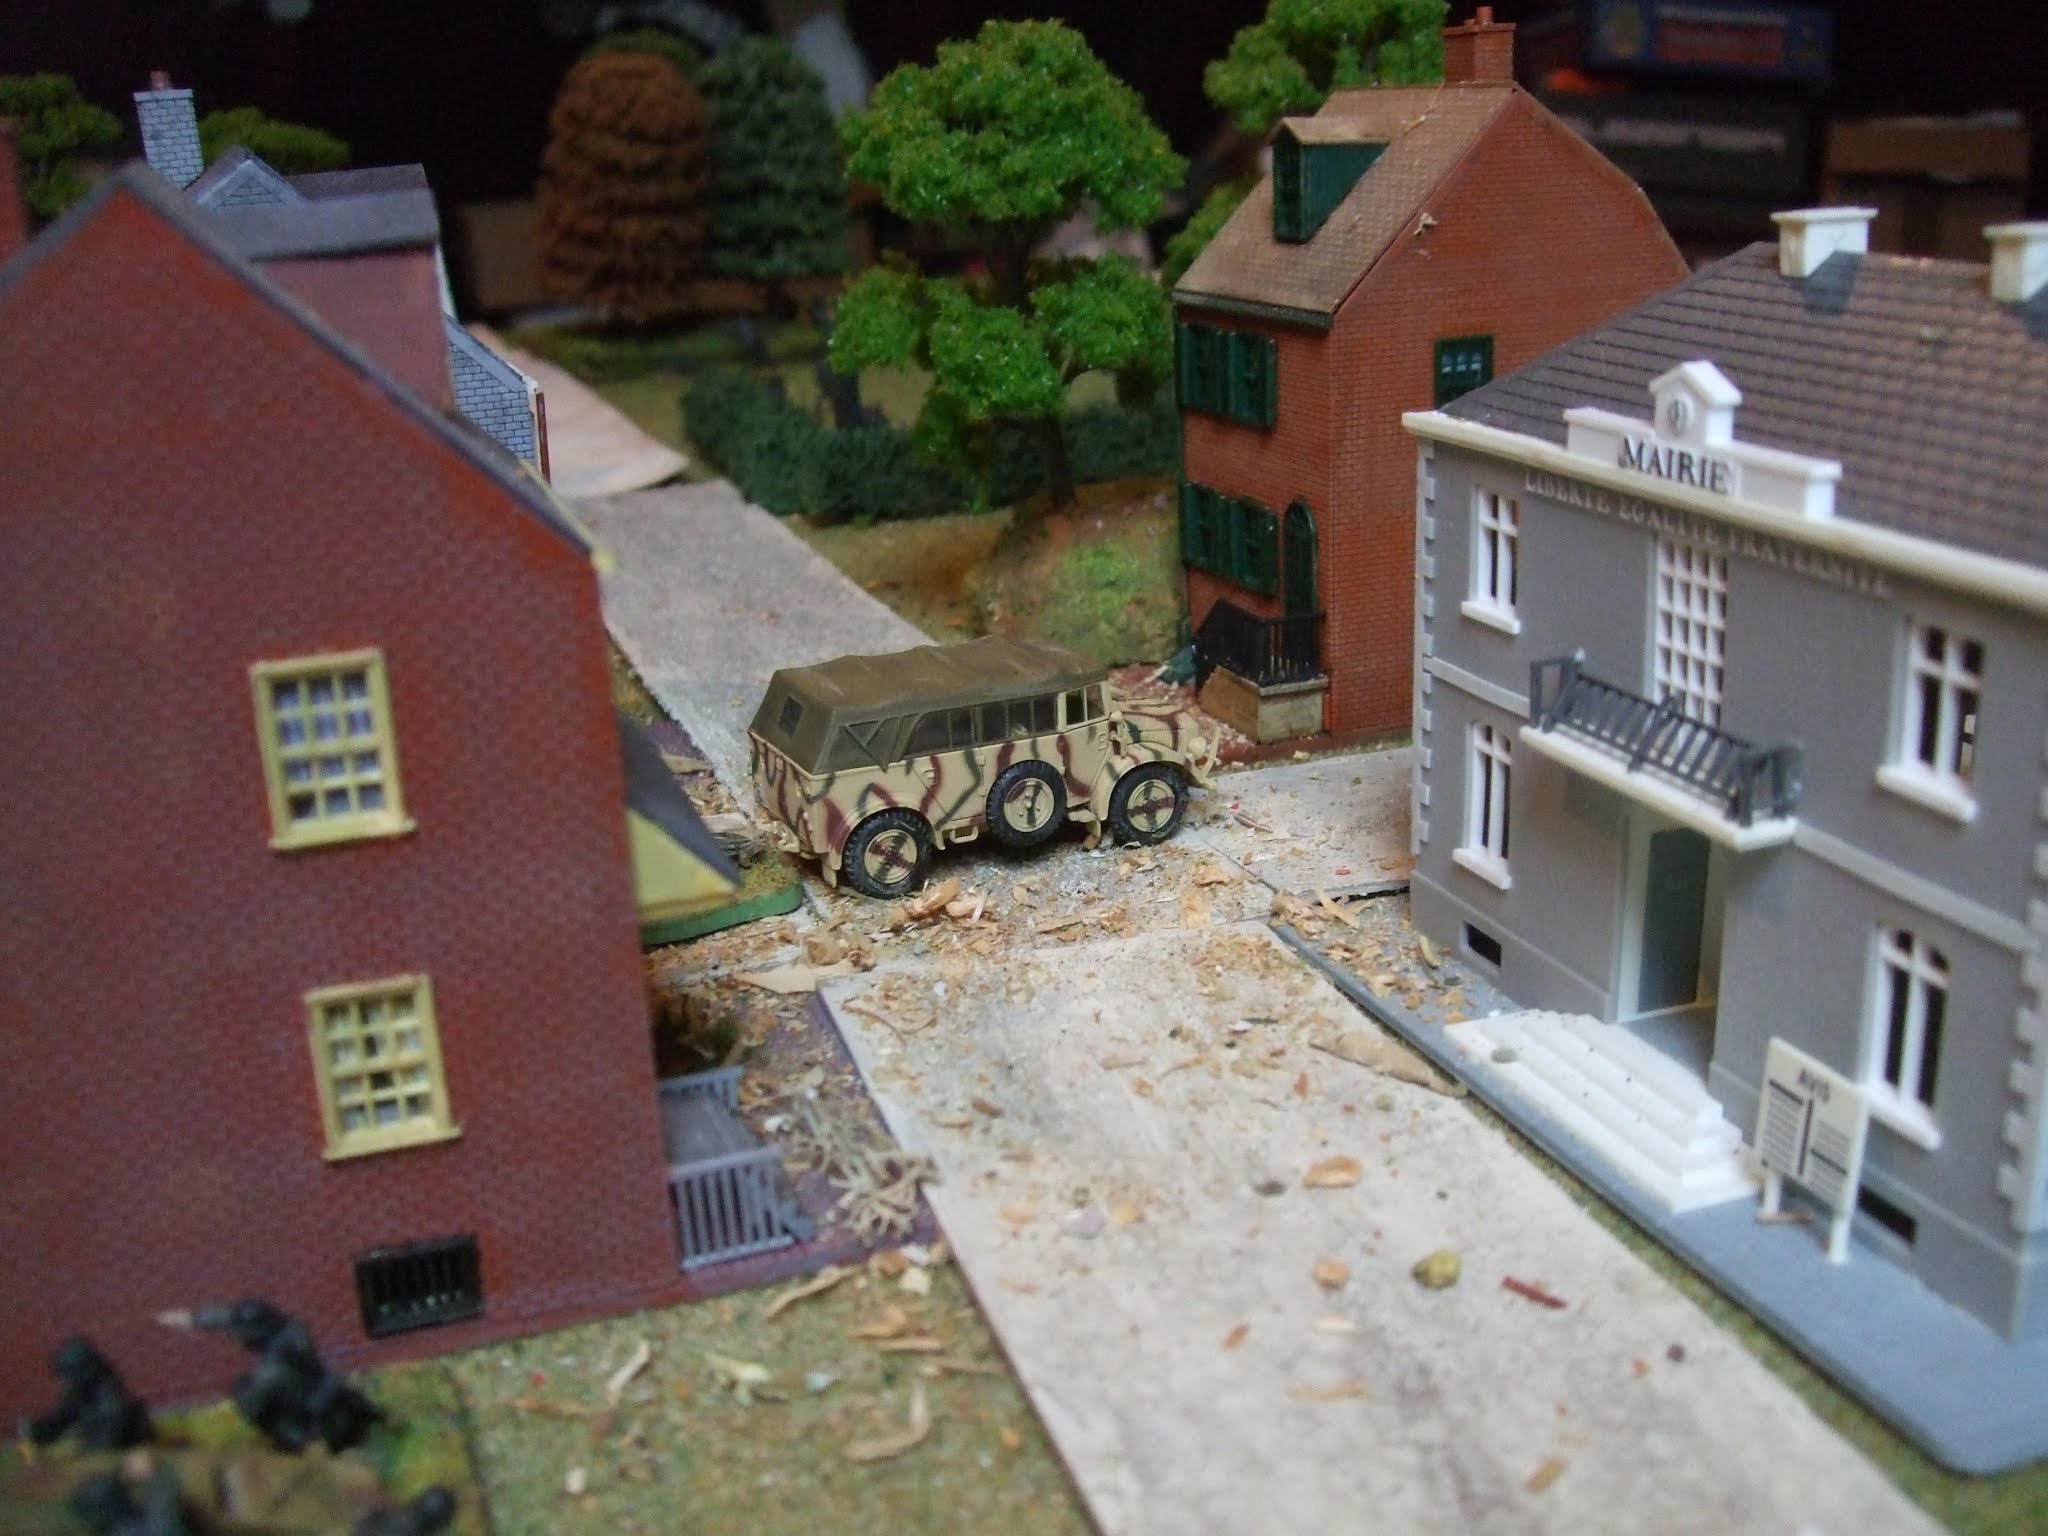
Speak of the devil - reinforcements rush into Villiers-le- Sec - elements of the 1/352nd - these are a bit of a mix - PSC, Caesar, AB...

The Pioneer Battalion - Airfix and Esci - the legacy of a long gaming career - the Steyr is PSC.
Turn 3:

The Durhams continue to edge forwards ('tactically' as we used to say in the cadets) - there has as yet not been a shot fired - the British probe the position whilst the Germans hastily reinforce it.


Will the Huns pass their observation roll? He looks like he's spotted something! (AB & Zvezda figures).


More surreptitious deployment of support weapons...

Will the Huns pass their observation roll? He looks like he's spotted something! (AB & Zvezda figures).
Turn 4:
Both sides have been continually reinforced and move towards each other but no-one has been spotted yet and there has been no shooting!

The British deploy a mortar - must have spotted something!

The Germans however get there first!

The action hots up as an 88mm takes out a Lloyd carrier.

The DLI press on regardless.

Just as well for this game has turned into a race for the best defensive positions! Shouldn't there be some tanks?
Turn 5:

At last - British armour arrives!


Turn 6:
British armour moves up to the cross roads but Fritz spots the movement - Feur !
It's sixes all round - direct hit! The 88 can see the smoke from their position.

Oof! Unhealthy crossroads! (downside of using wallpaper for your roads - maybe should have glued to something?)

The rest of the unit beats a hasty retreat to Crepon - they don't even know there are two 88s!

The Germans move up more troops to hold the British advance.

Turn 7:


I must confess at this point that I didn't take any notes while I was playing this game so I am not actually sure what turn we are in anymore!

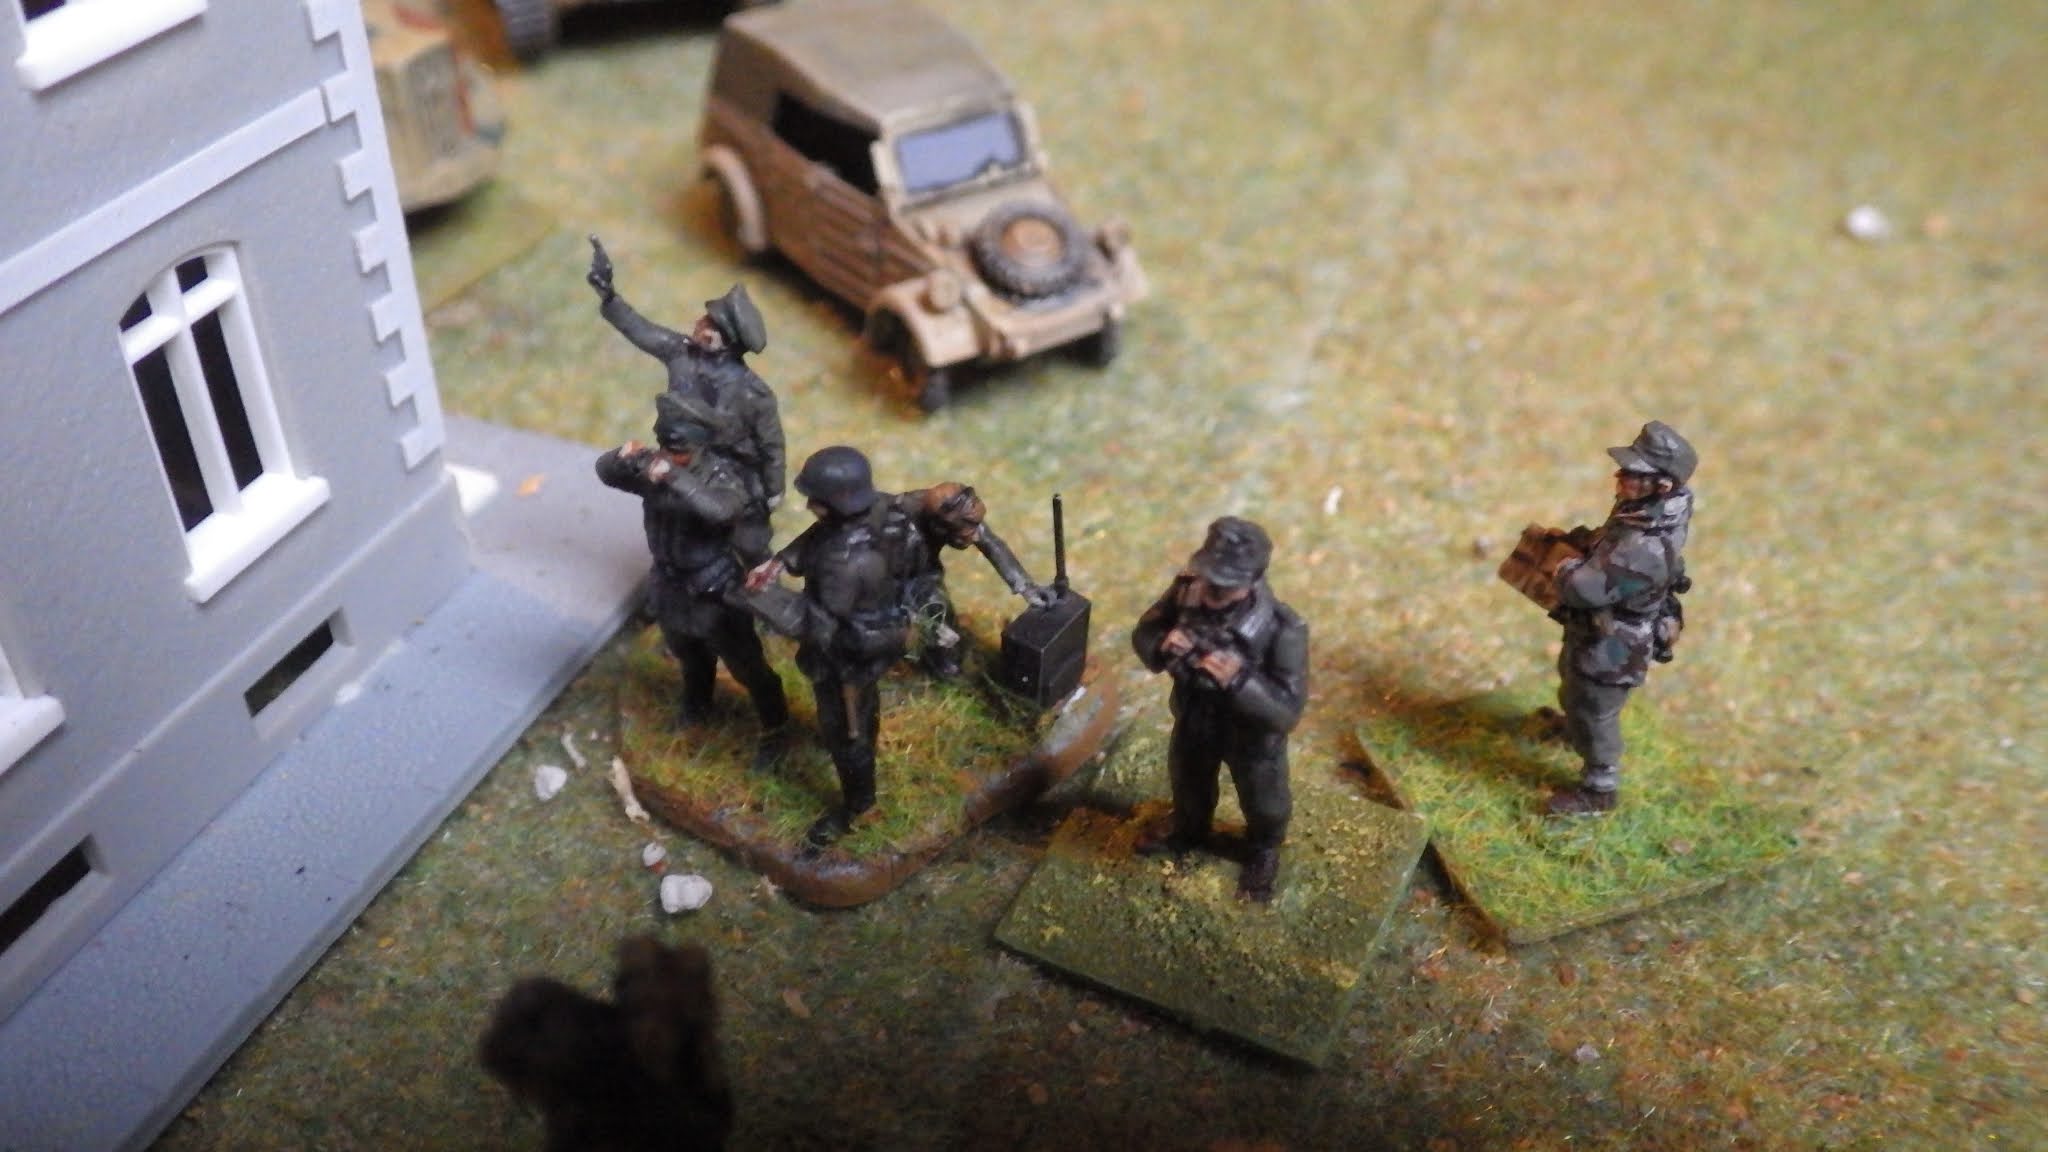
Word from HQ - Advance must continue!

Unsupported the DLI edge towards the Hun - (figures a mix - PSC, Caesar & AB)

Predictably they are fired on from all directions.

The Germans are well equipped (mortar AB - Panzer Grenadier - Atlantic! 105mm is Hinchcliffe I think)

Casualties mount.
Turn 8:

The British call in the big guns - OP Carrier converted from PSC Universal carrier with bits of plastic card and a few spare parts.

The Durhams move into the cornfield on the British right.

The Germans are emplaced on the other side of the field and a furious firefight ensues.

The Germans bring up support (although I was unaware that they had an HE capability so they weren't that much help!)
Turn 9:
The Durhams have by now run the gauntlet of the fields between Crepon and Villiers-le-Sec and are now engaged in close quarters fighting along the whole front.

The dastardly Huns outflank our boys in cornfield.

They are driven back with heavy losses.

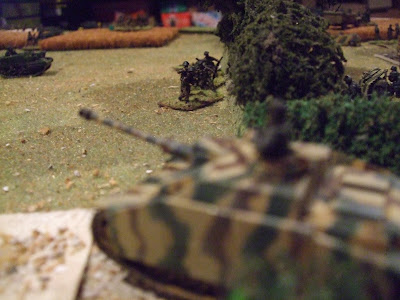
German Stug III engages DLI attacking the bocage.

An M10 at the edge of the woods engages the Stug and it is driven off...

Fierce fighting continues in the hedgerows.
Turn 10:
The artillery fire slackened off as both sides are now closely engaged and open targets are few. It is down to grenades, rifles and machine guns and ultimately the bayonet.

The Durhams breakthrough the hedgerow in the German centre.

On the German right the pioneers try to outflank the DLI.

But British reinforcements check their move.

The Stugs come out again to support the German retreat on their left.
German support elements head out of town...
Turn 11:
The British are at last making headway across the front. They have taken heavy casualties and their armour after its initial fright had done nothing but is starting to edge down the British right flank.

The Durhams break into the farm in the centre of Villiers-le-Sec

And on their right they move against the pioneers.

Who make a fighting retreat.

Free from the threat of the dreaded 88s the British armour finally emerges and the Durhams consolidate their various positions.
The Uber Huns decide they don't have the strength left to hold their position and call for a retreat...
The game is over!
